A few days ago, i bid on a defective Xiaomi Mi Band 4. The description mentioned a non working display and a free wrist band. So i thought: Hey! Let’s give it a try, maybe i can fix it.
Spoilers: I couldn’t… At least i have a cool wristband, and a nice teardown for you.
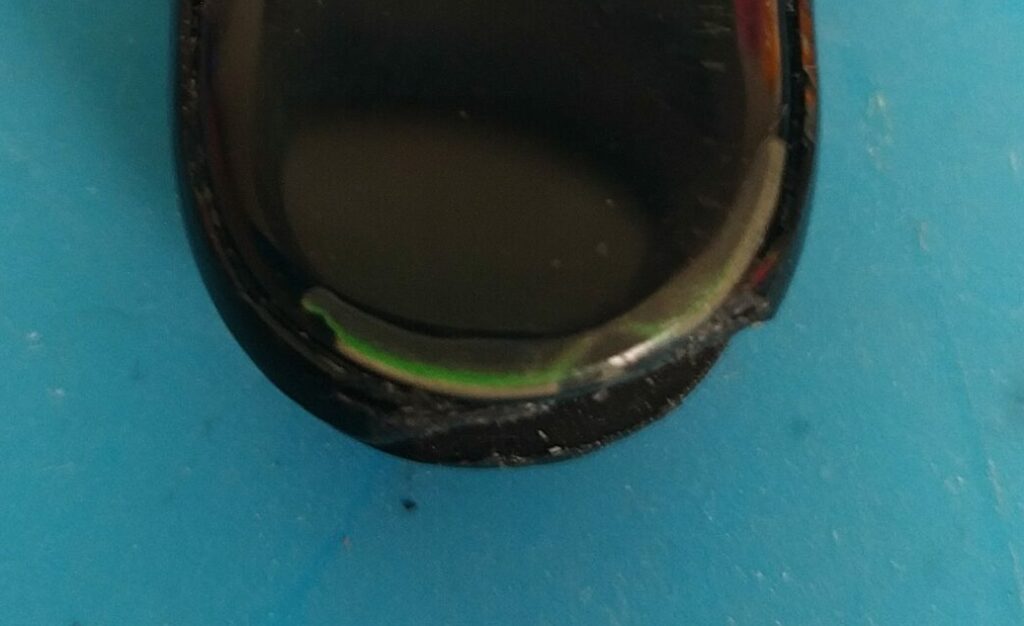
Anyway, as soon as i received the device, i tried to connect it to my smartphone, which worked! The main pcb itself seems fine. But the display only showed some color flickering in the bottom left corner. My guess is a bad seal on the AMOLED display.
As soon as humid air enters the organic layers of the display, those layers are destroyed. You can see this defect on the first generation of Galaxy Fold Smartphones, after removing the non removable protective layer.
But back to the Mi Band:
I tried to upgrade the Firmware in the hope that this was just a Software problem. This did not solve the issue, so it was time for disassembly
Opening the device
First i looked up resources on how to open the device. I found very little information, except a few Videos like this one:
https://www.youtube.com/watch?v=OYuiuYzpYOI
The seam on the plastic body is welded together and could not be used as an entry point. So I started with a scalpel and tried to get below the display glass. I could get in, but i was not able to lift the glass.
I decided to cut the lip that is covering the glass, so i could lift it from there. This worked pretty good, although the mi band would not win a beauty contest afterwards. In hindsight, I’m sure it is possible to lift the display glass with a very thin piece of metal or plastic, and a lot of heat to soften the glue.
Unplugging the FPC connector disconnects the whole the display unit.
After removing the display, I could easily access any other part. Two phillips screws keep the main PCB in place. The bluetooth antenna is glued at the side of the plastic shell and soldered to the pcb.
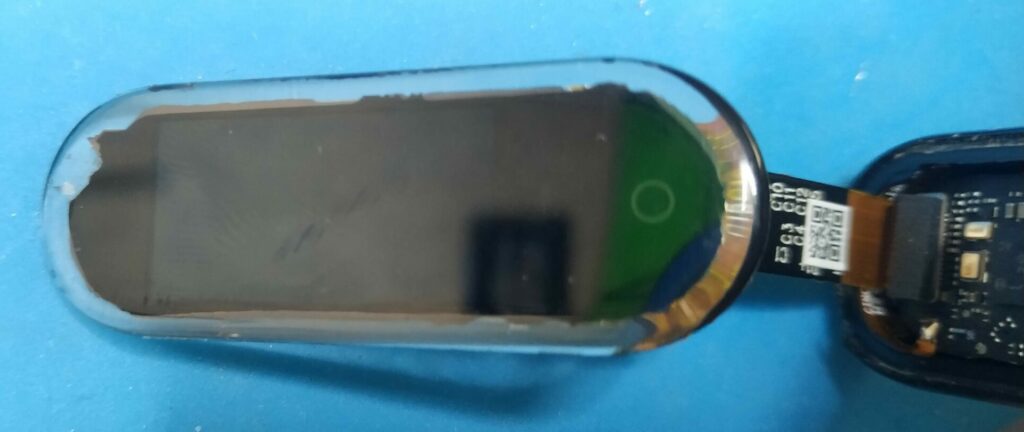
Top glass with display and touch button 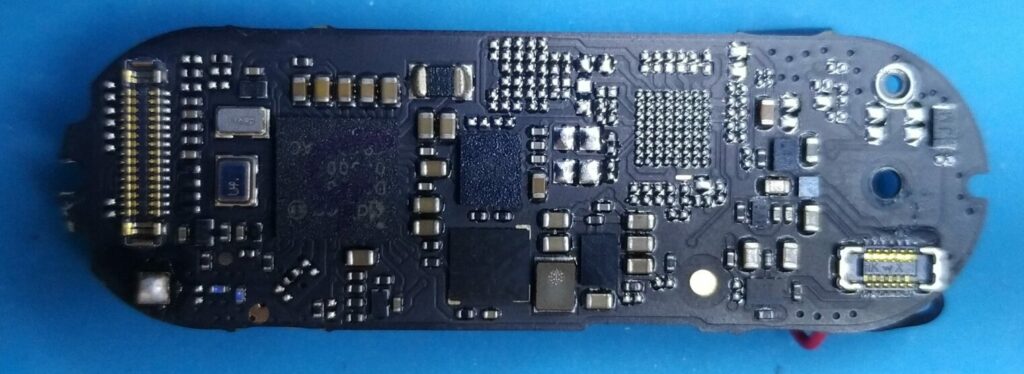
Main PCB top 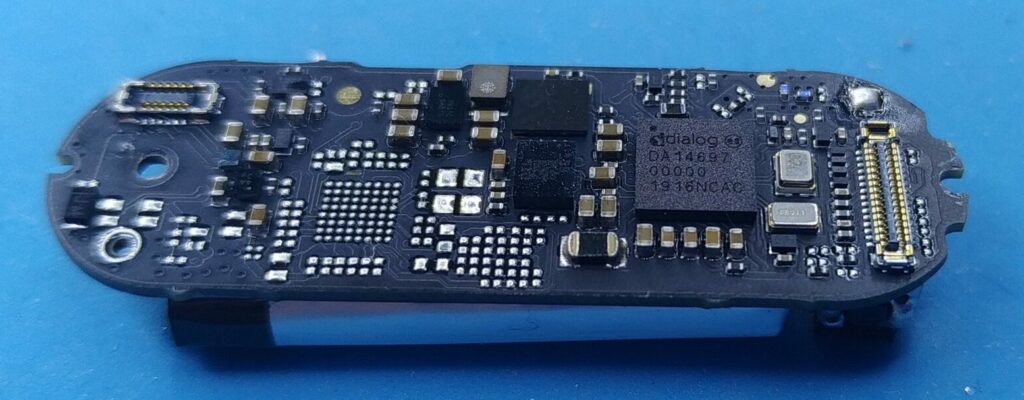
Main PCB side 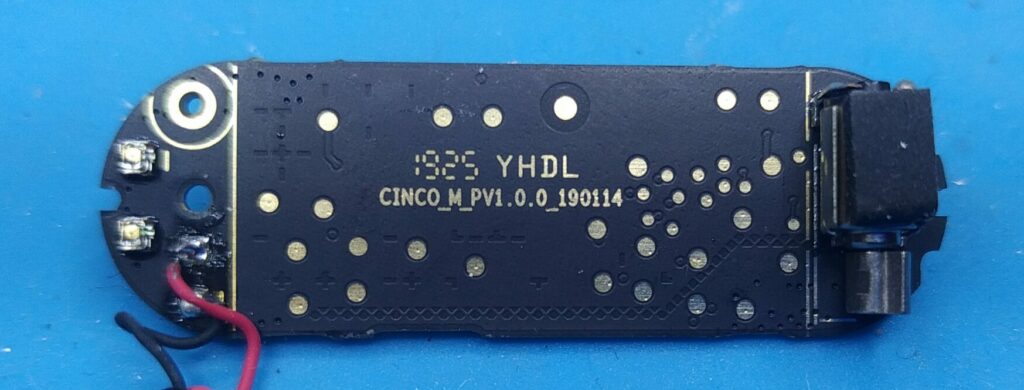
Main PCB Bottom 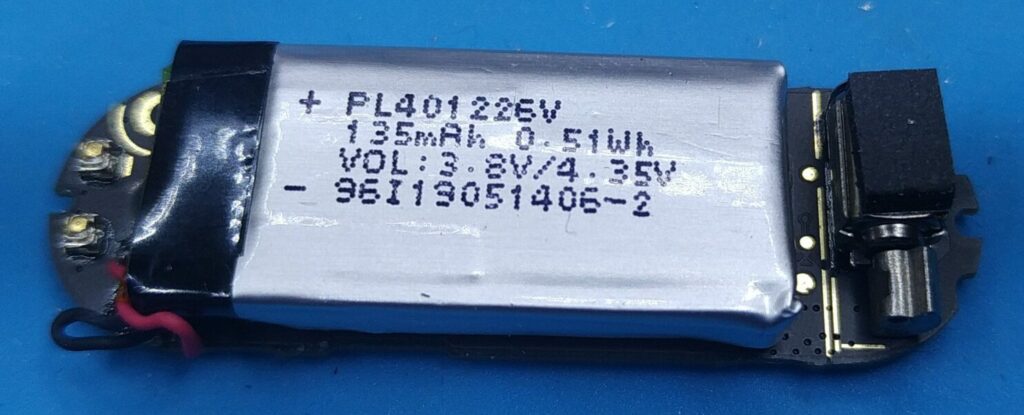
Battery 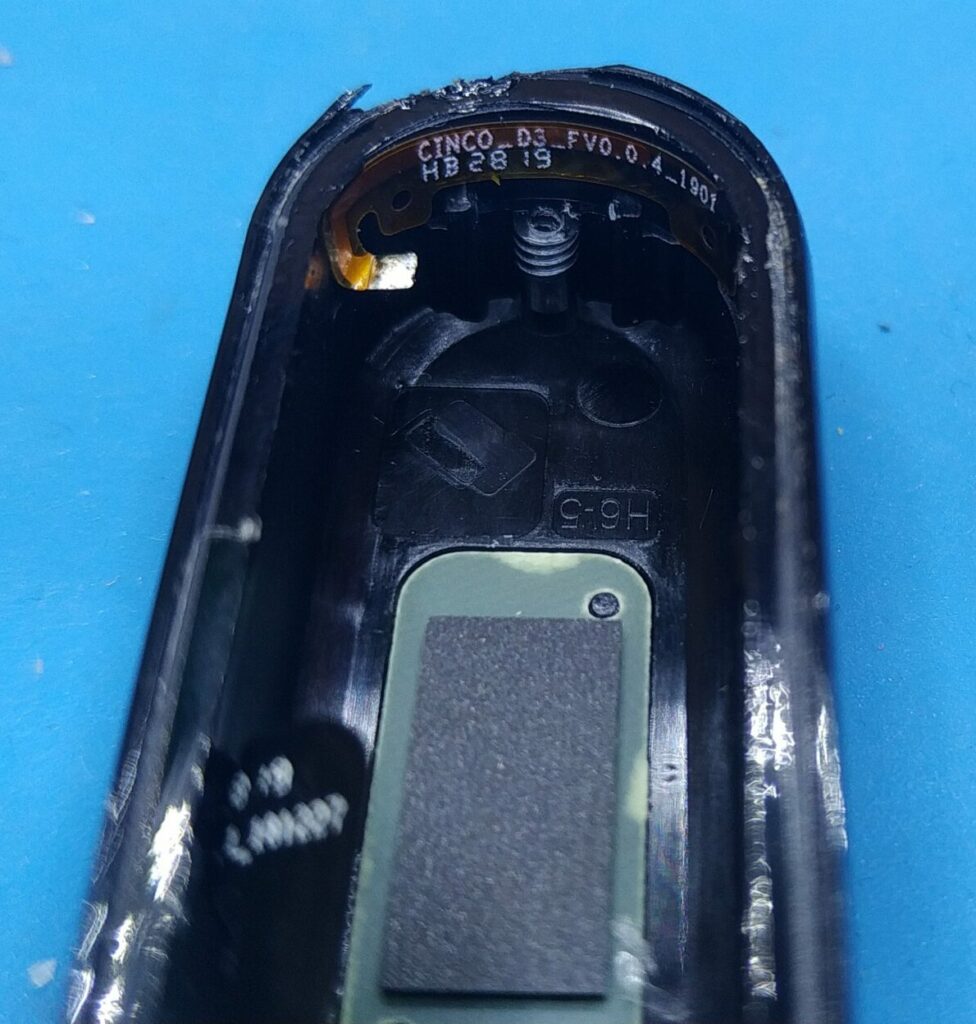
Case with bluetooth antenna 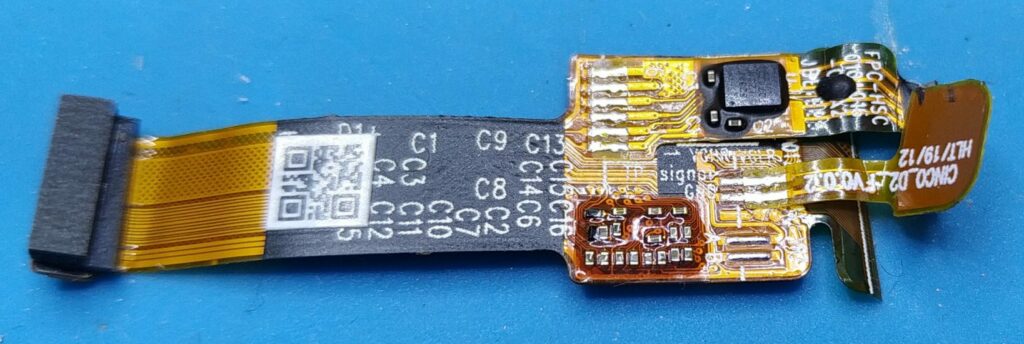
Display ribbon
Glue holds the heart rate sensor at the bottom of the device in place and another FPC connector connects it with the main pcb . The connection is secured with a blob of hot glue.
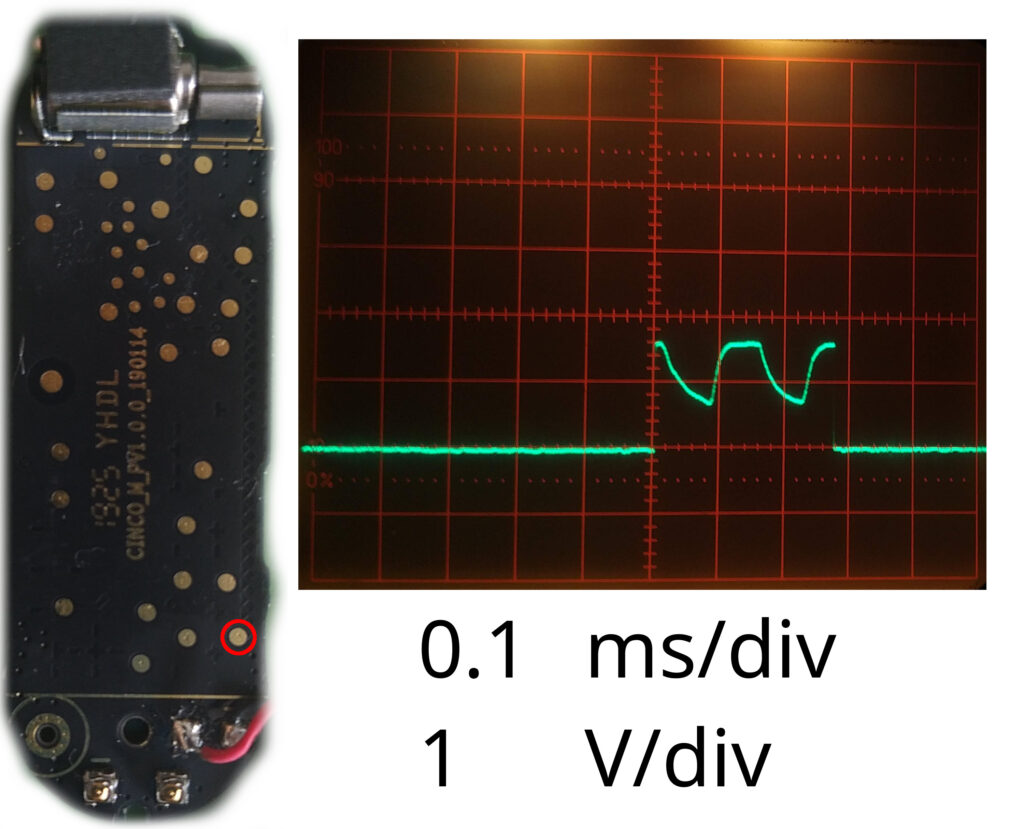
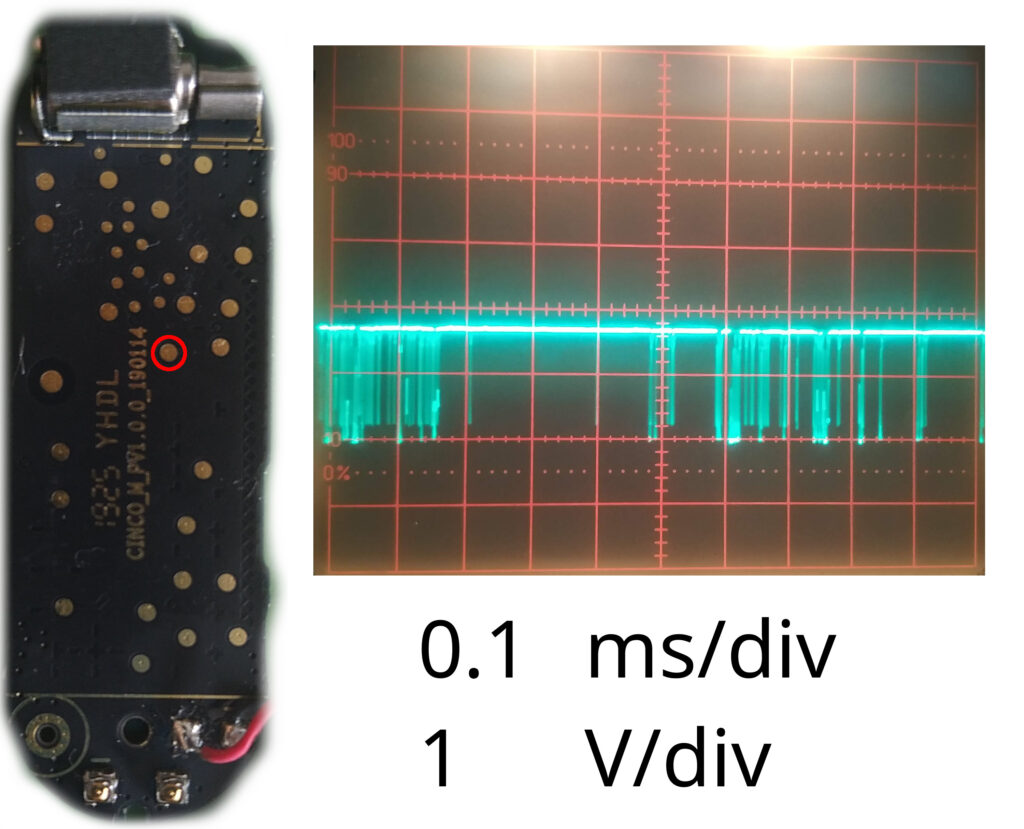
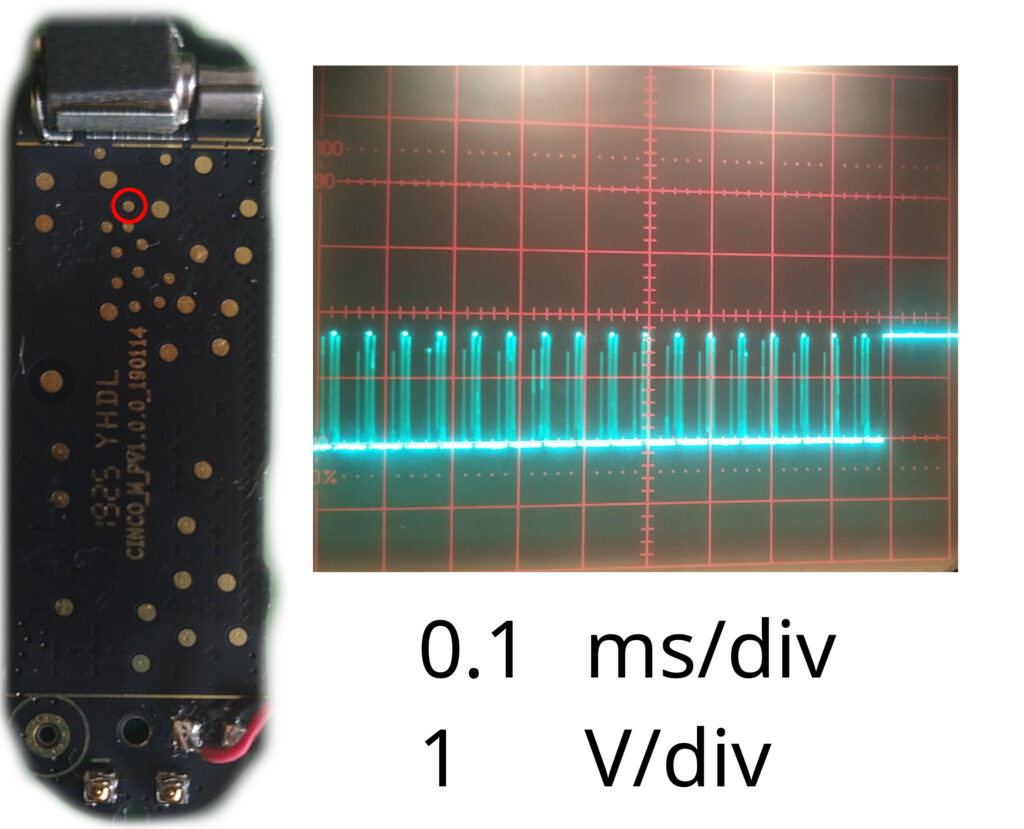
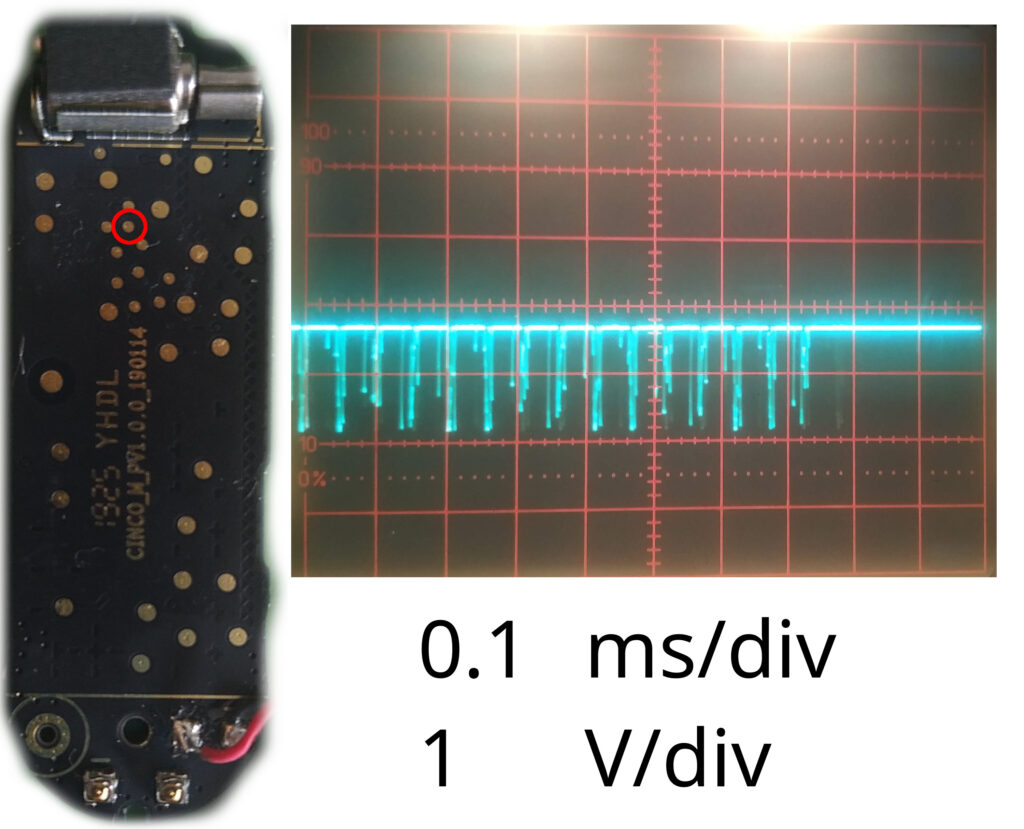
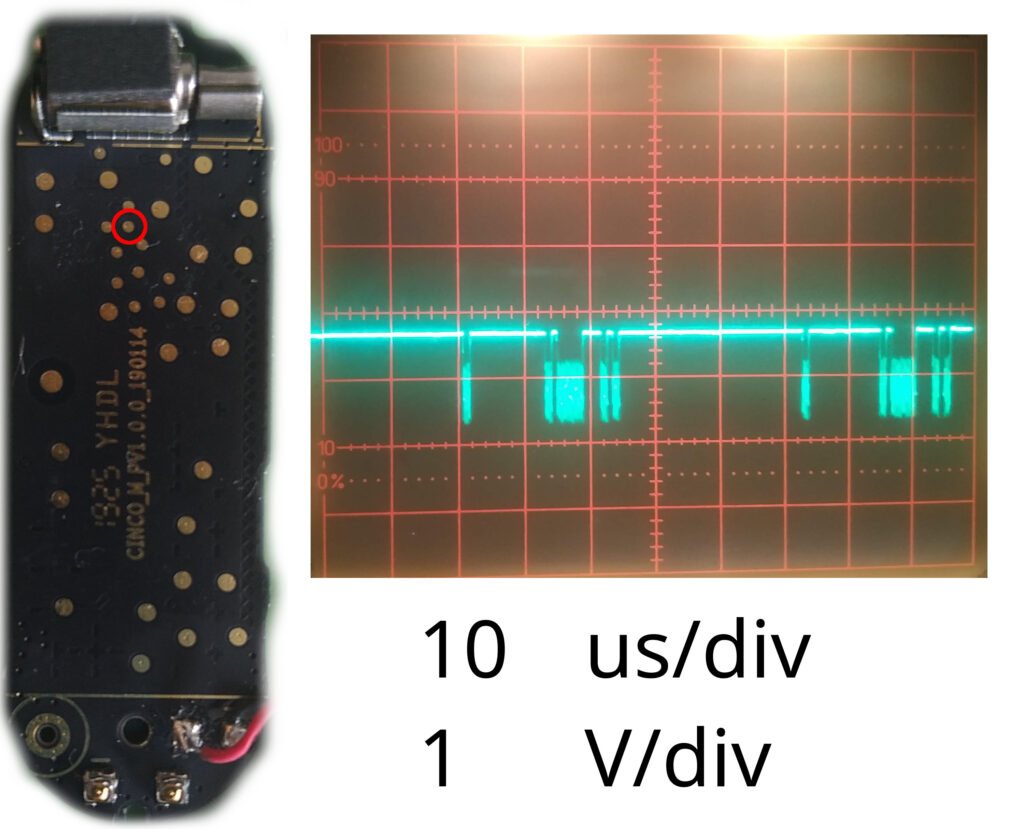
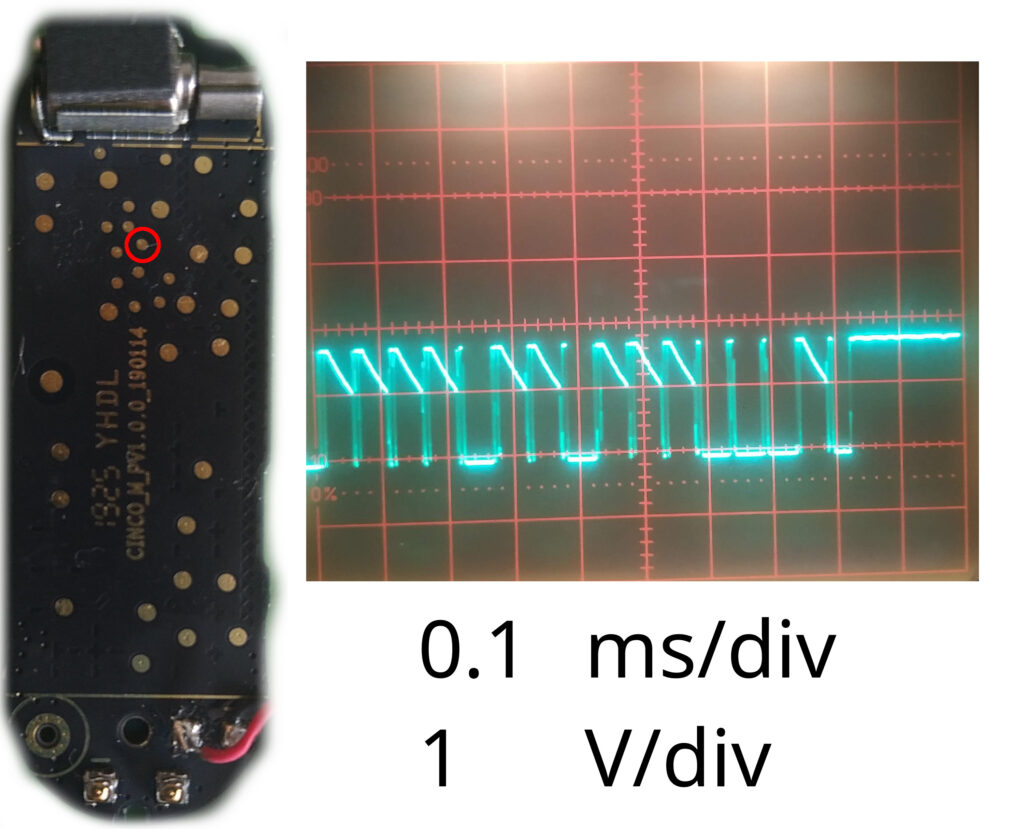
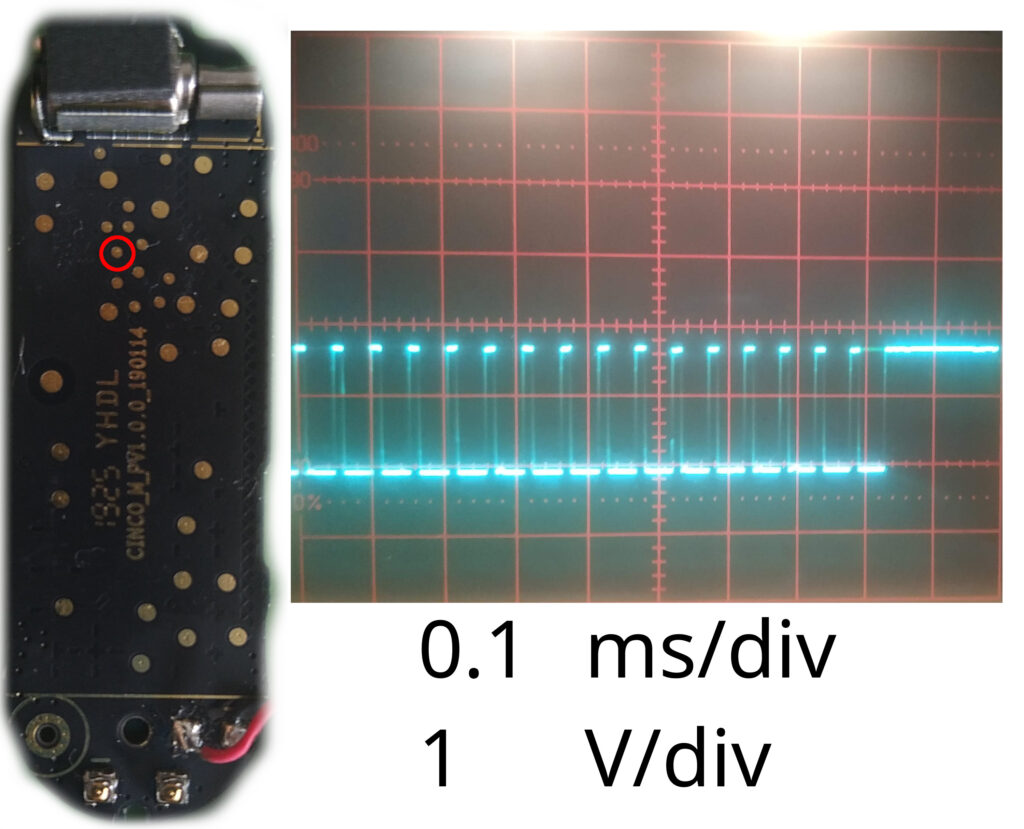
Initial measurements of the pcb test points
The test points on the backside of the pcb give the following signals:
In my next Post, i will go into more detail and start to probe around a bit more. The goal is to reverse engineer the pcb of the Mi Band 4. See you there.

1 Comment
Antonio · 11. October 2020 at 12:59
Did you make any progress?