Introduction
On a mission to get a cheap cleaning robot, i found this cute Deebot Slim 2 from Ecovacs on ebay Kleinanzeigen. The description just stated, that an error occured, as soon as a cleaning program was started.
The price was unbeatable, even if I could not get it to work. So i went for it
Diagnosis
The first thing for me, was to test the device and look for any hints in the misbehaviour. On manual control via the App, the robot started to move straight forward, but after a few seconds, it drifted to the right. The App did not throw any errors.
Furthermore, a cleaning program did throw an error almost immediately.
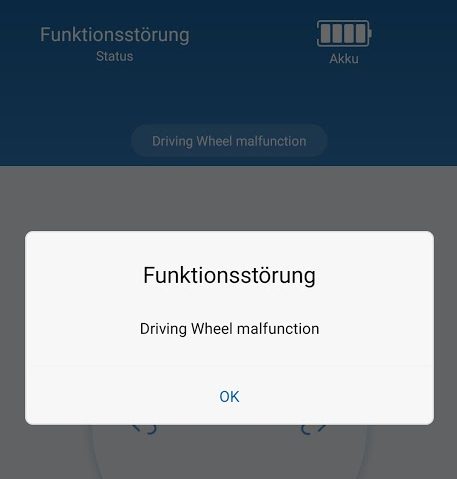
The error message: My drive wheel is stuck. Or: Driving wheel malfunction
My obvious conclusion: The drive wheel is stuck! There must be a malfunction with the drive wheel!
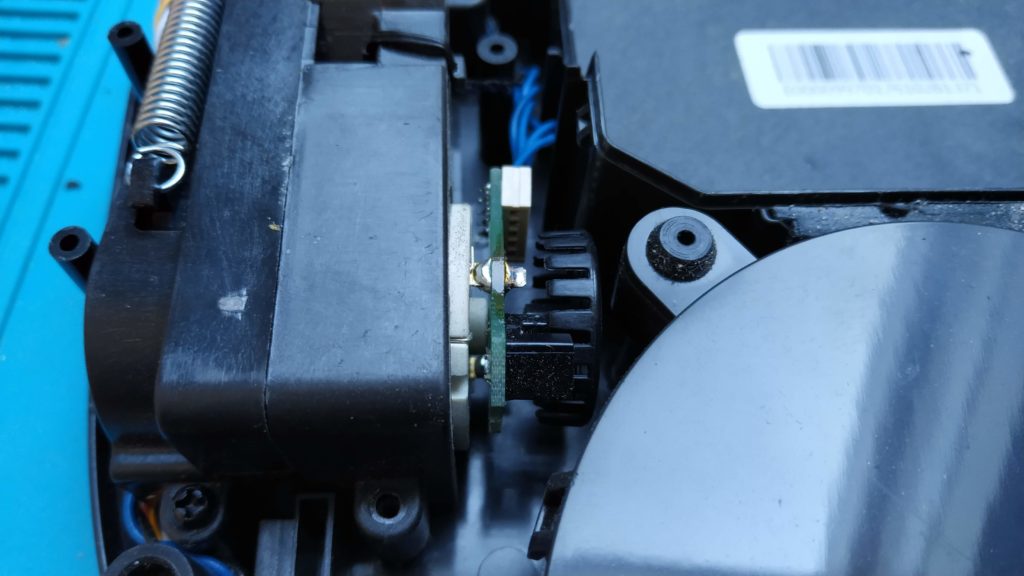
Well… no. It was the sensor, which gave wrong speed indications to the controller board. On the motor shaft of every drive wheel is an additional wheel with fins in it. The wheel interrupts the light signal of a photoelectric barrier and, as a result, generates a square wave signal. This square wave indicates the speed of the wheel. The main controller uses this as a feedback.
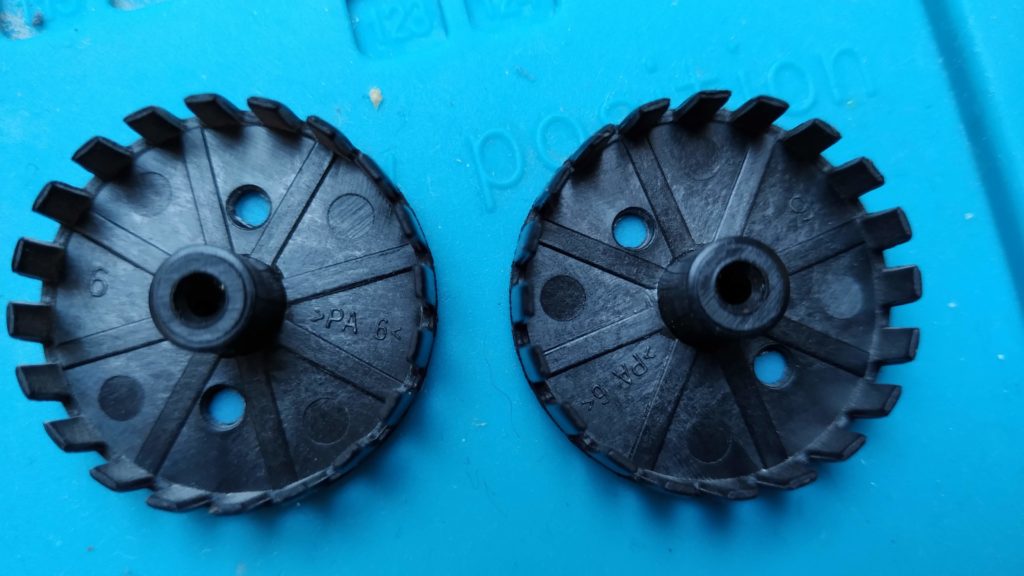
In conclusion, the left speed indicator wheel was not attached properly and slipped at higher speeds. The controller sped up the left drive wheel and, subsequently, the robot turned right.
Fixing the issue
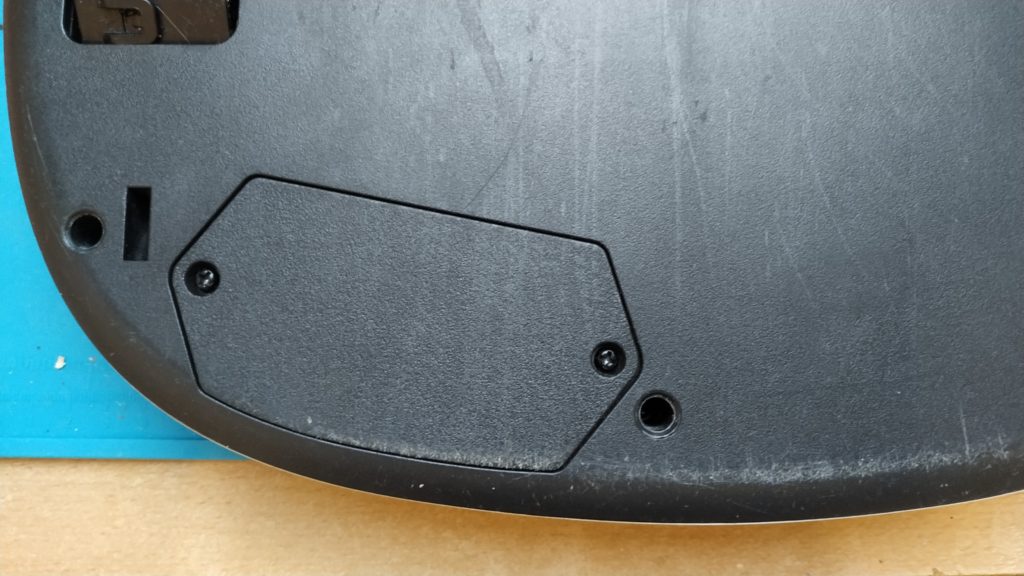
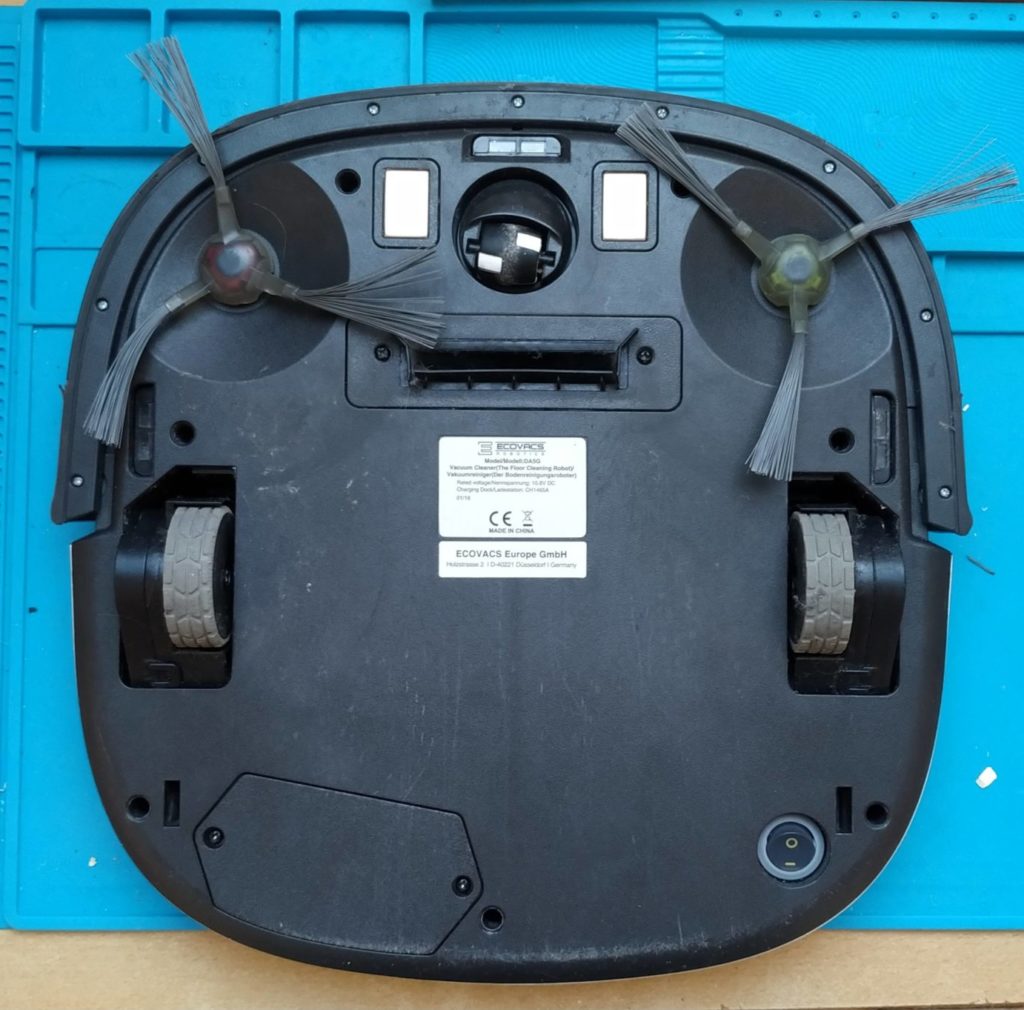
First, switch the robot off, and remove the dust bin. Turn the device around, unscrew the two screws of the bottom left cover, unplug the battery and remove it.
Next, remove the 8 small screws, that hold the bumper in place. After that, lift up the thin plastic bezel and put it aside. Turn the robot back on its wheels and carefully pull on the bumper assembly. Undo the connection and put the bumper aside.
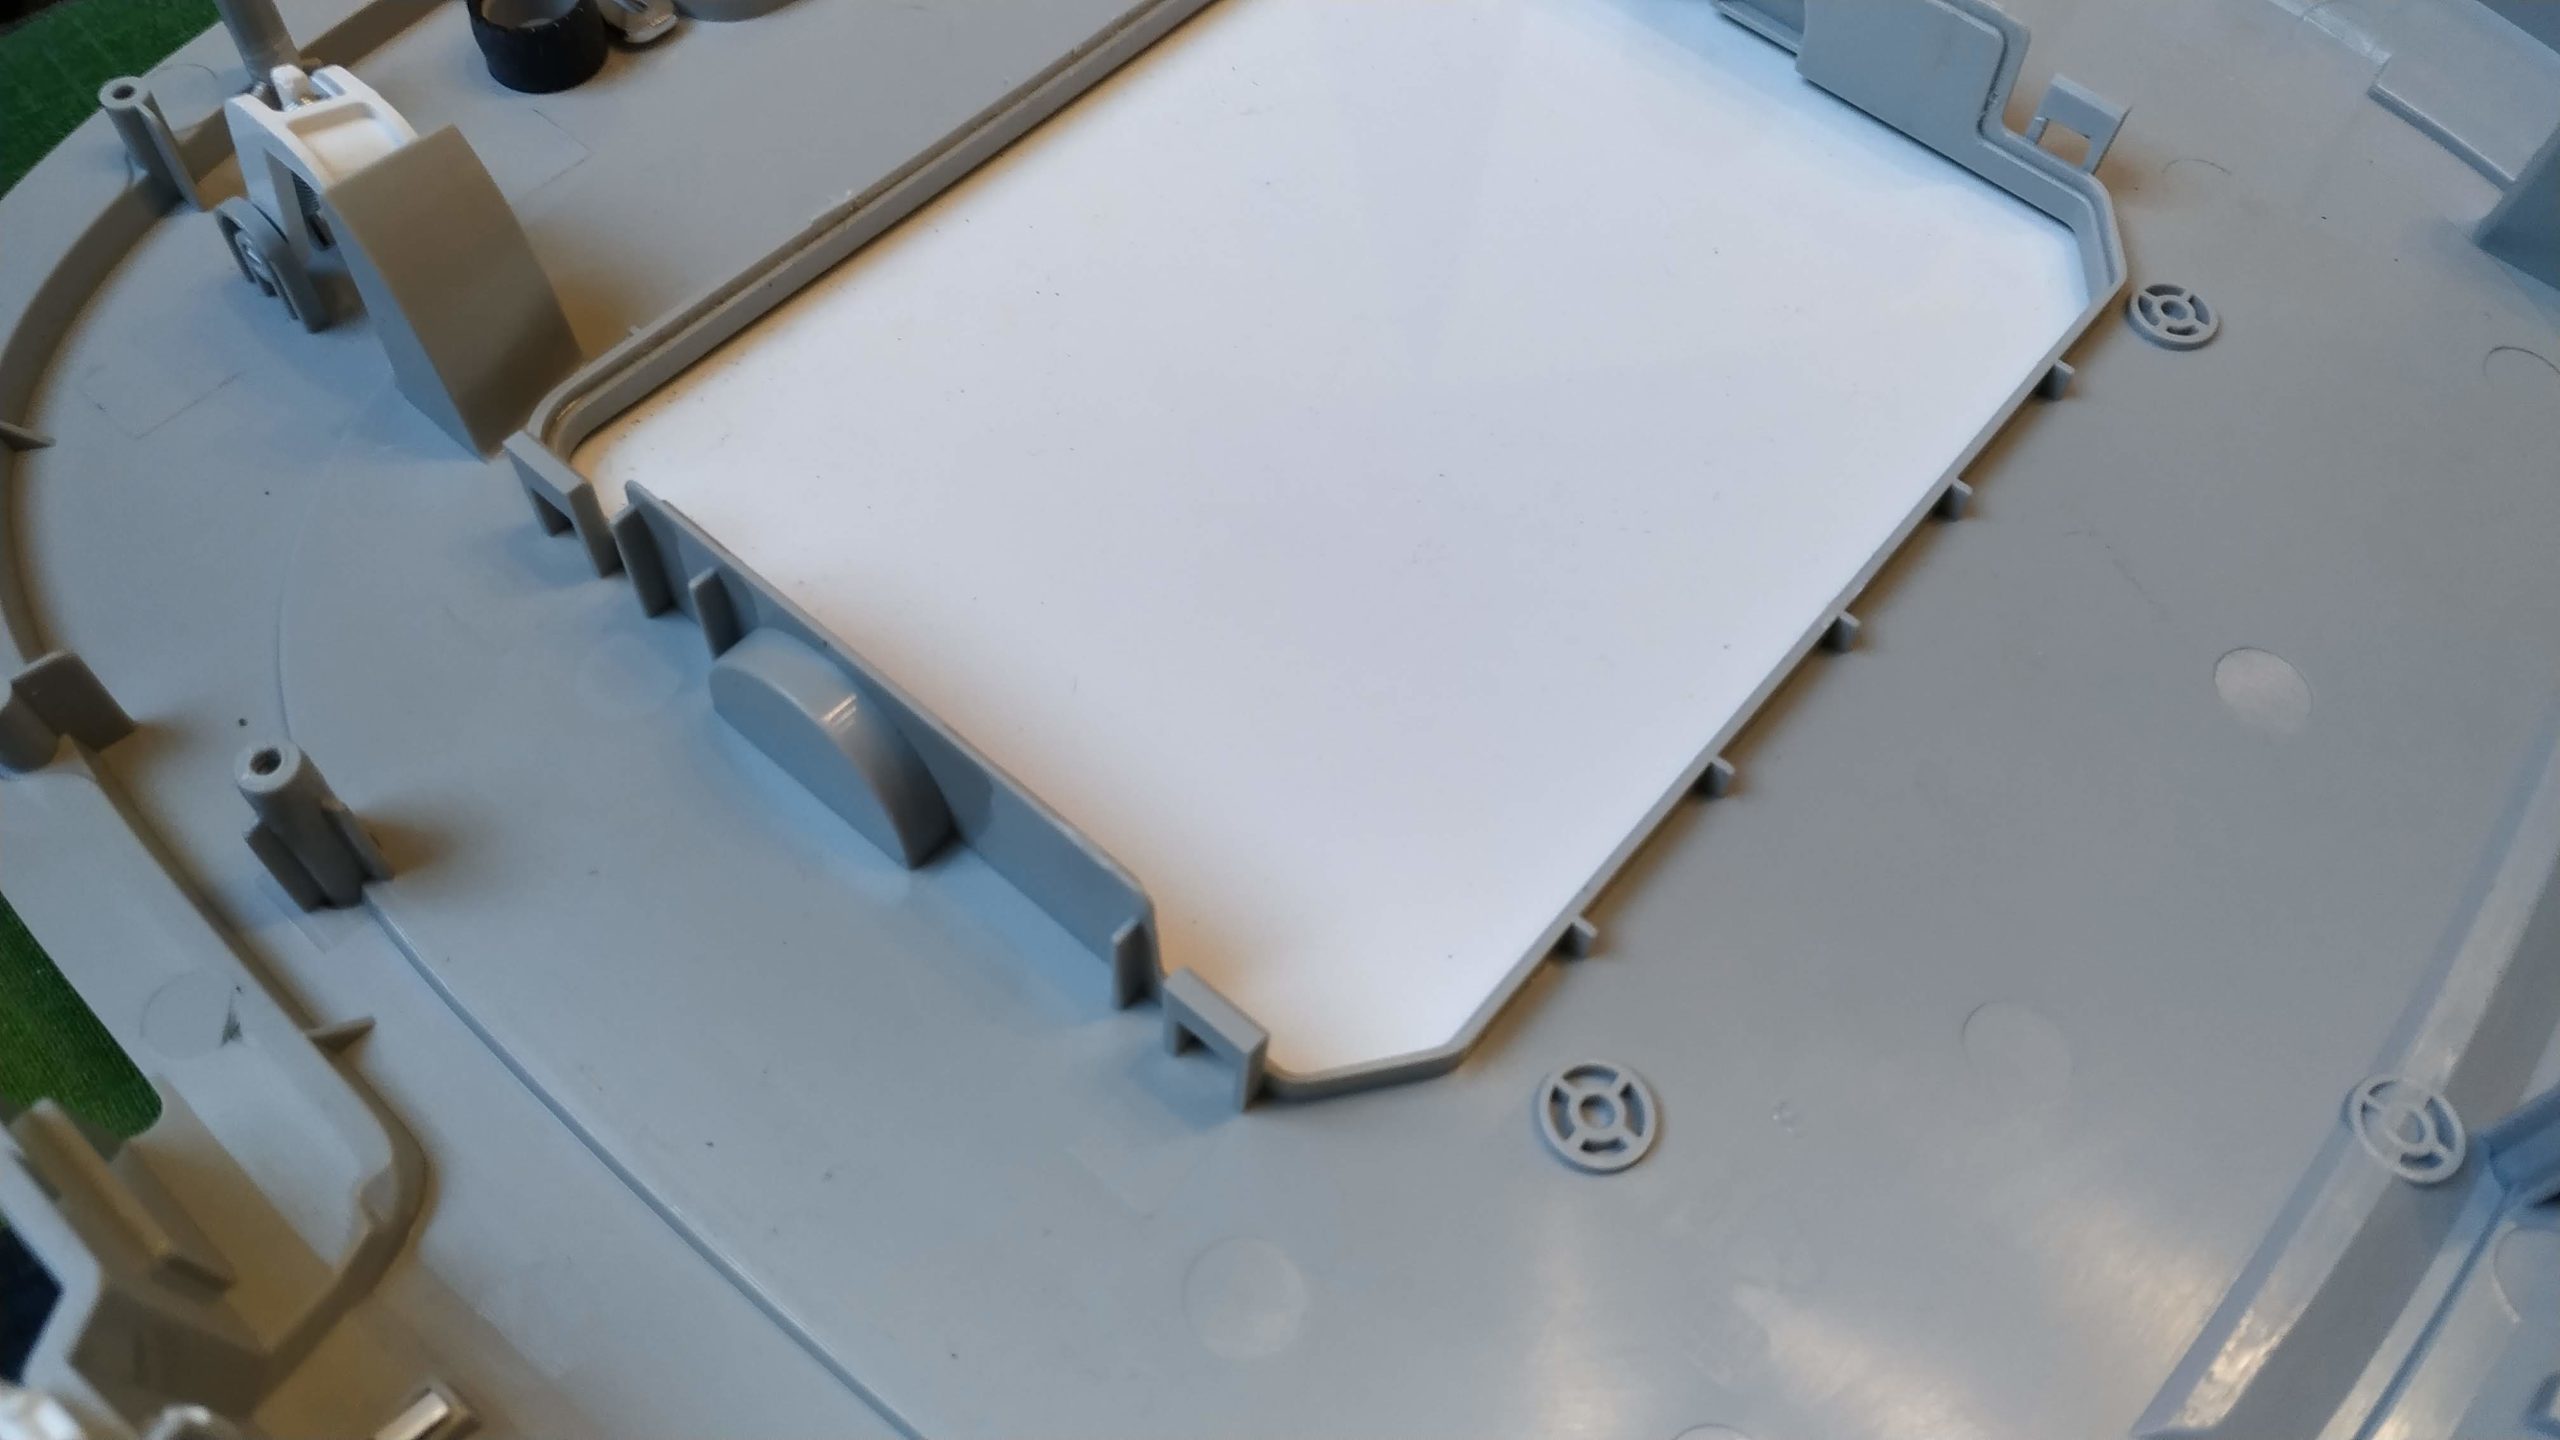
Next, turn the robot around and unscrew all visible screws: Two of them hold the intake cover in place, 8 of them hold the top cover.
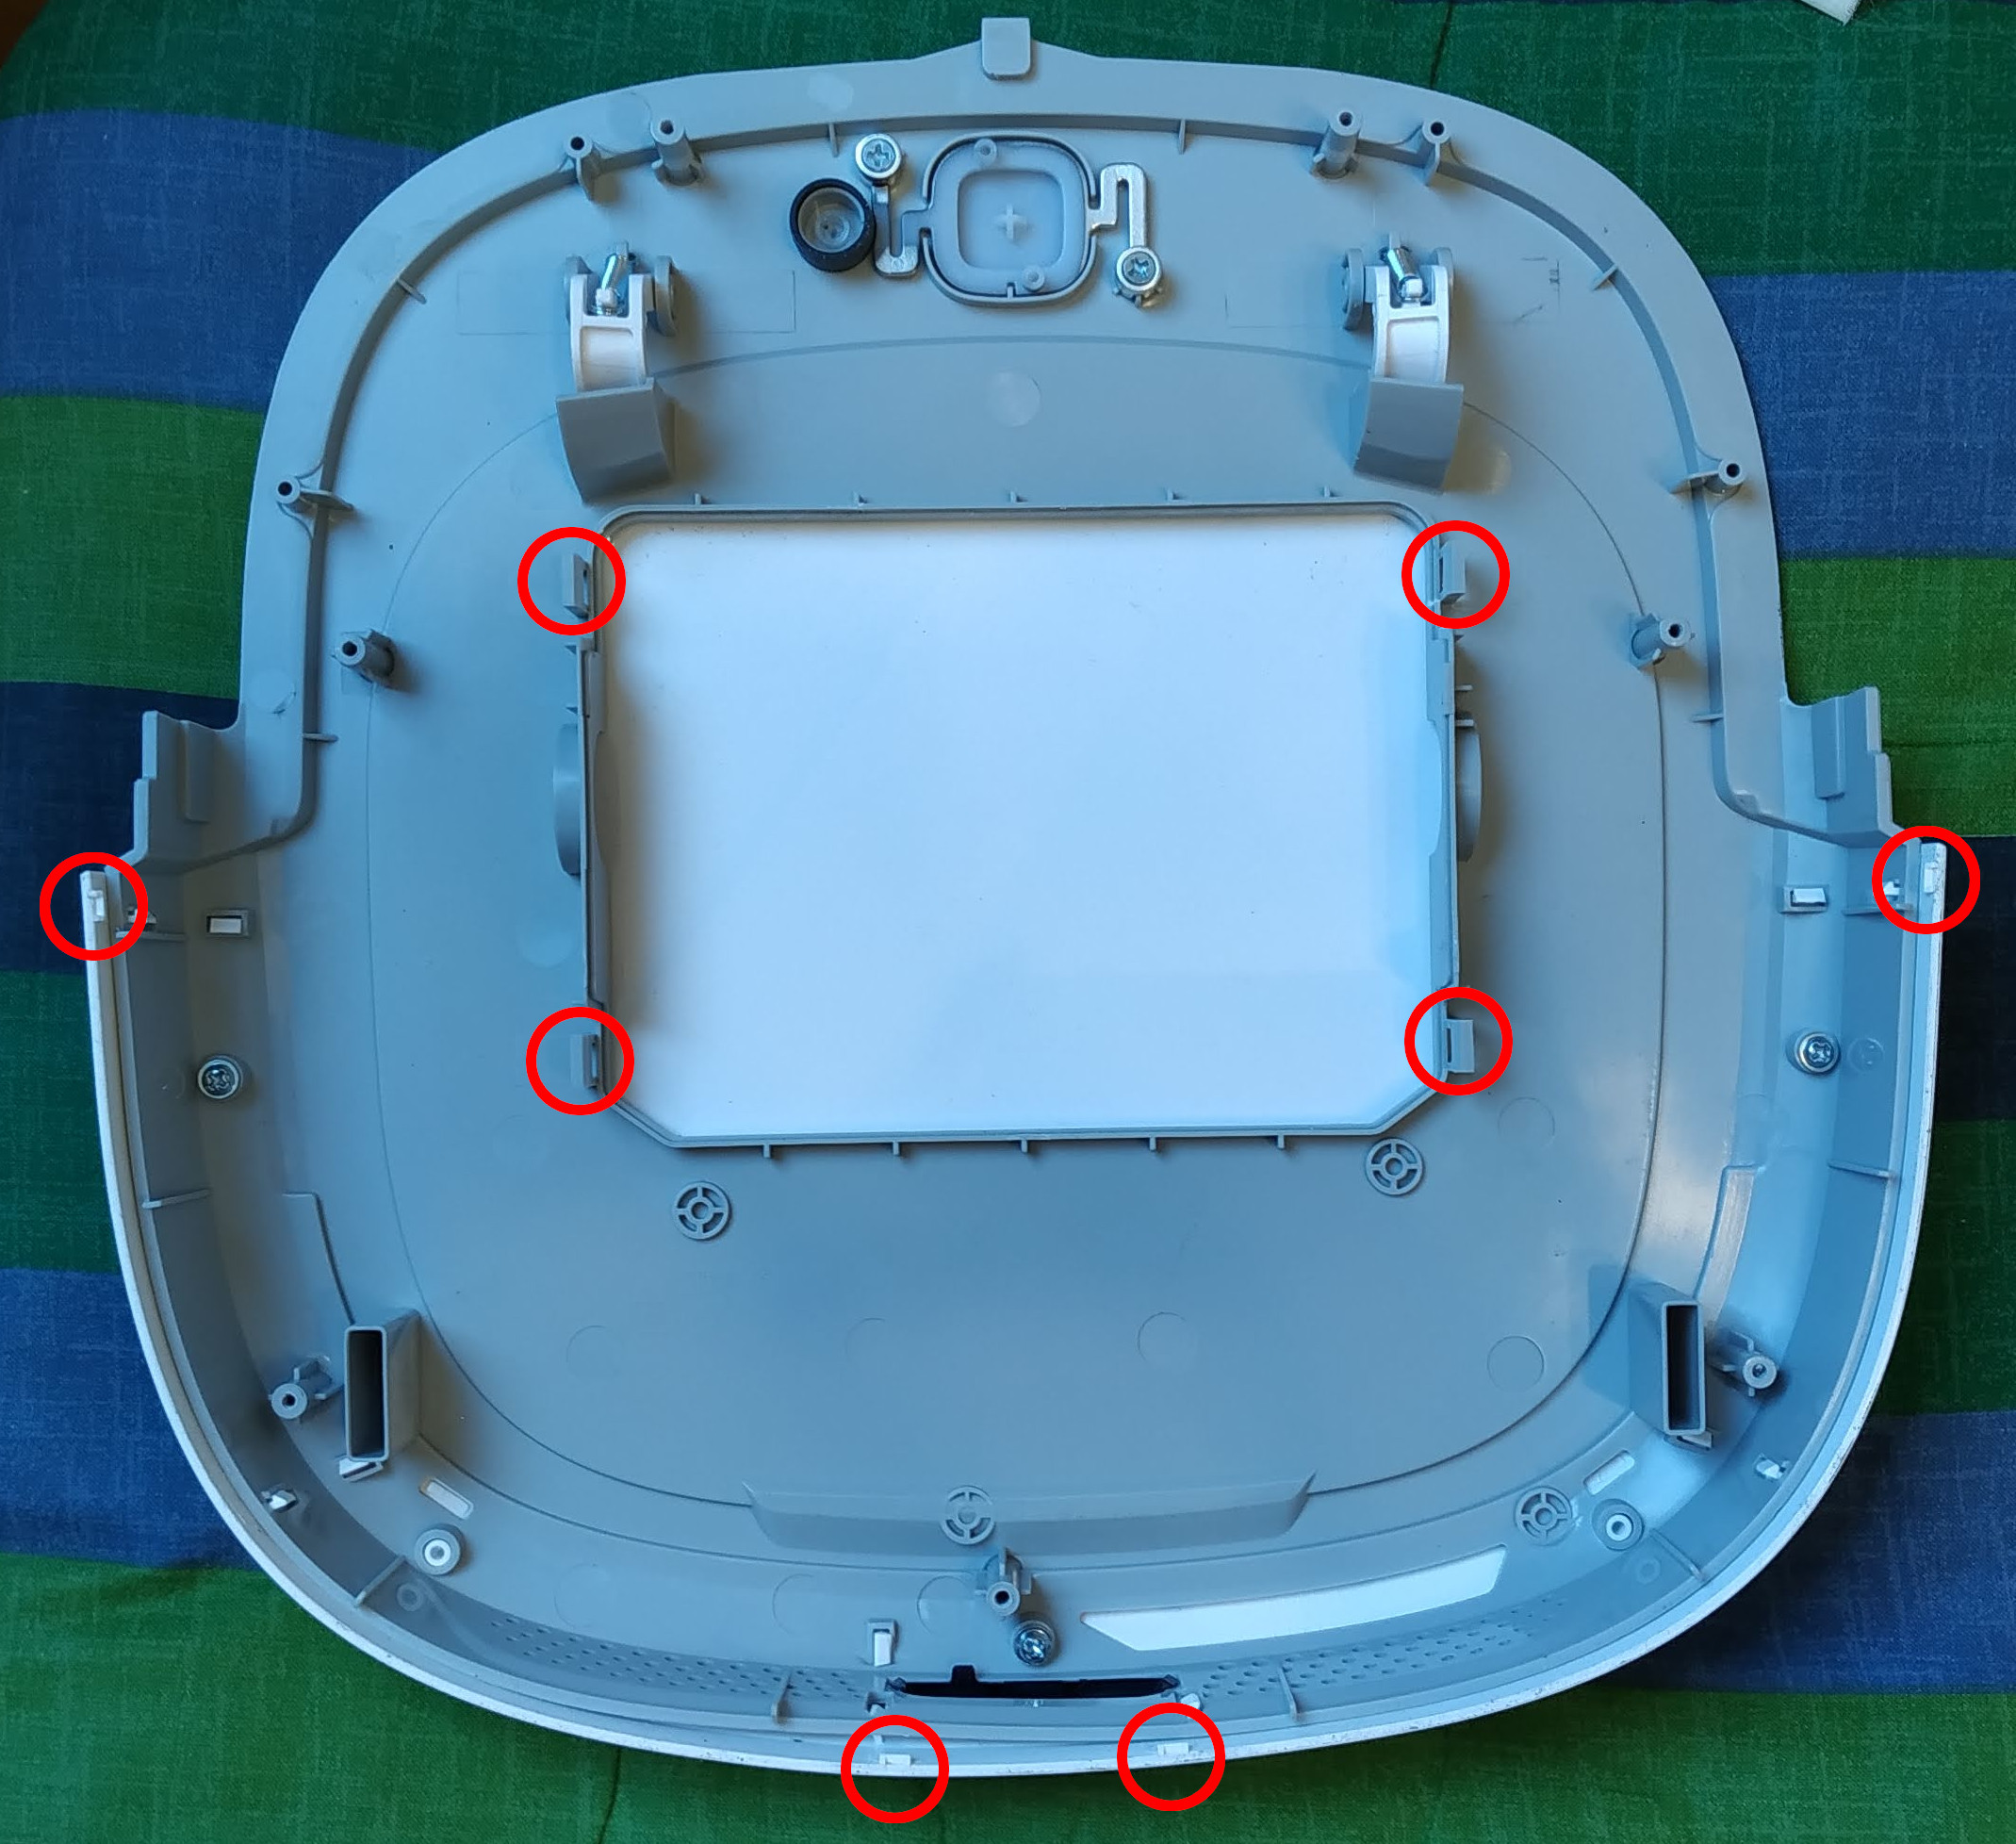
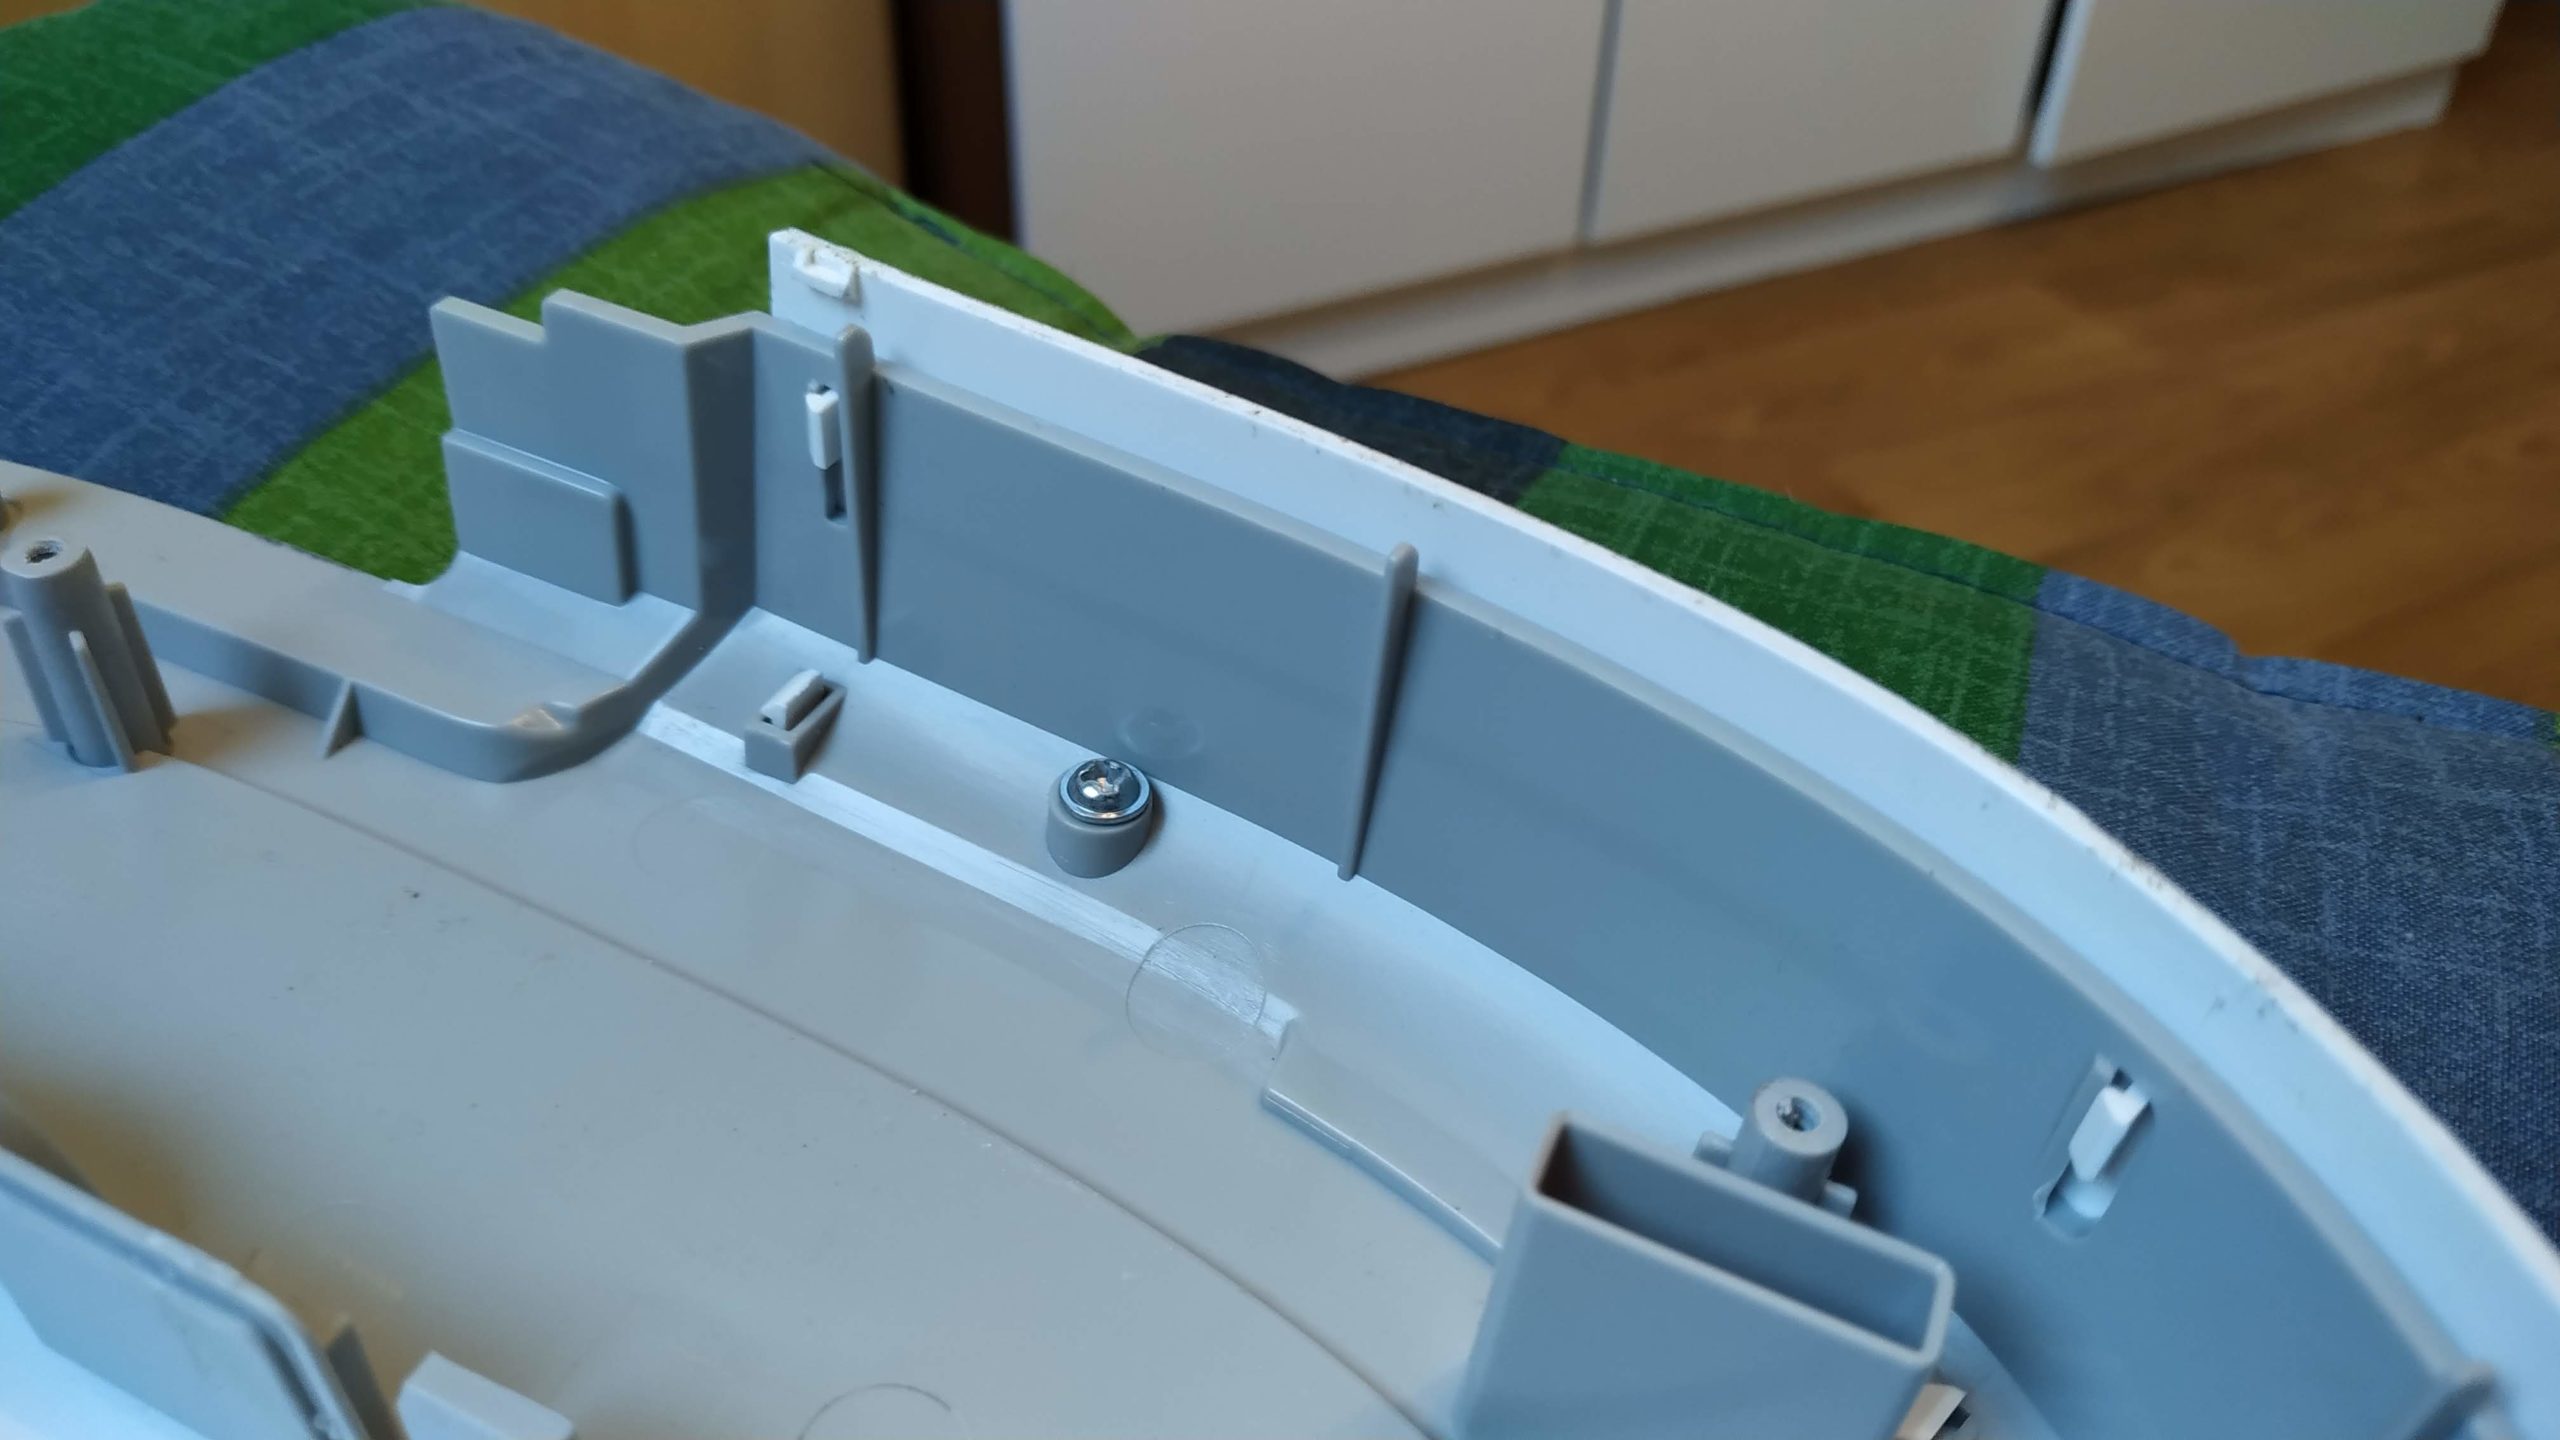
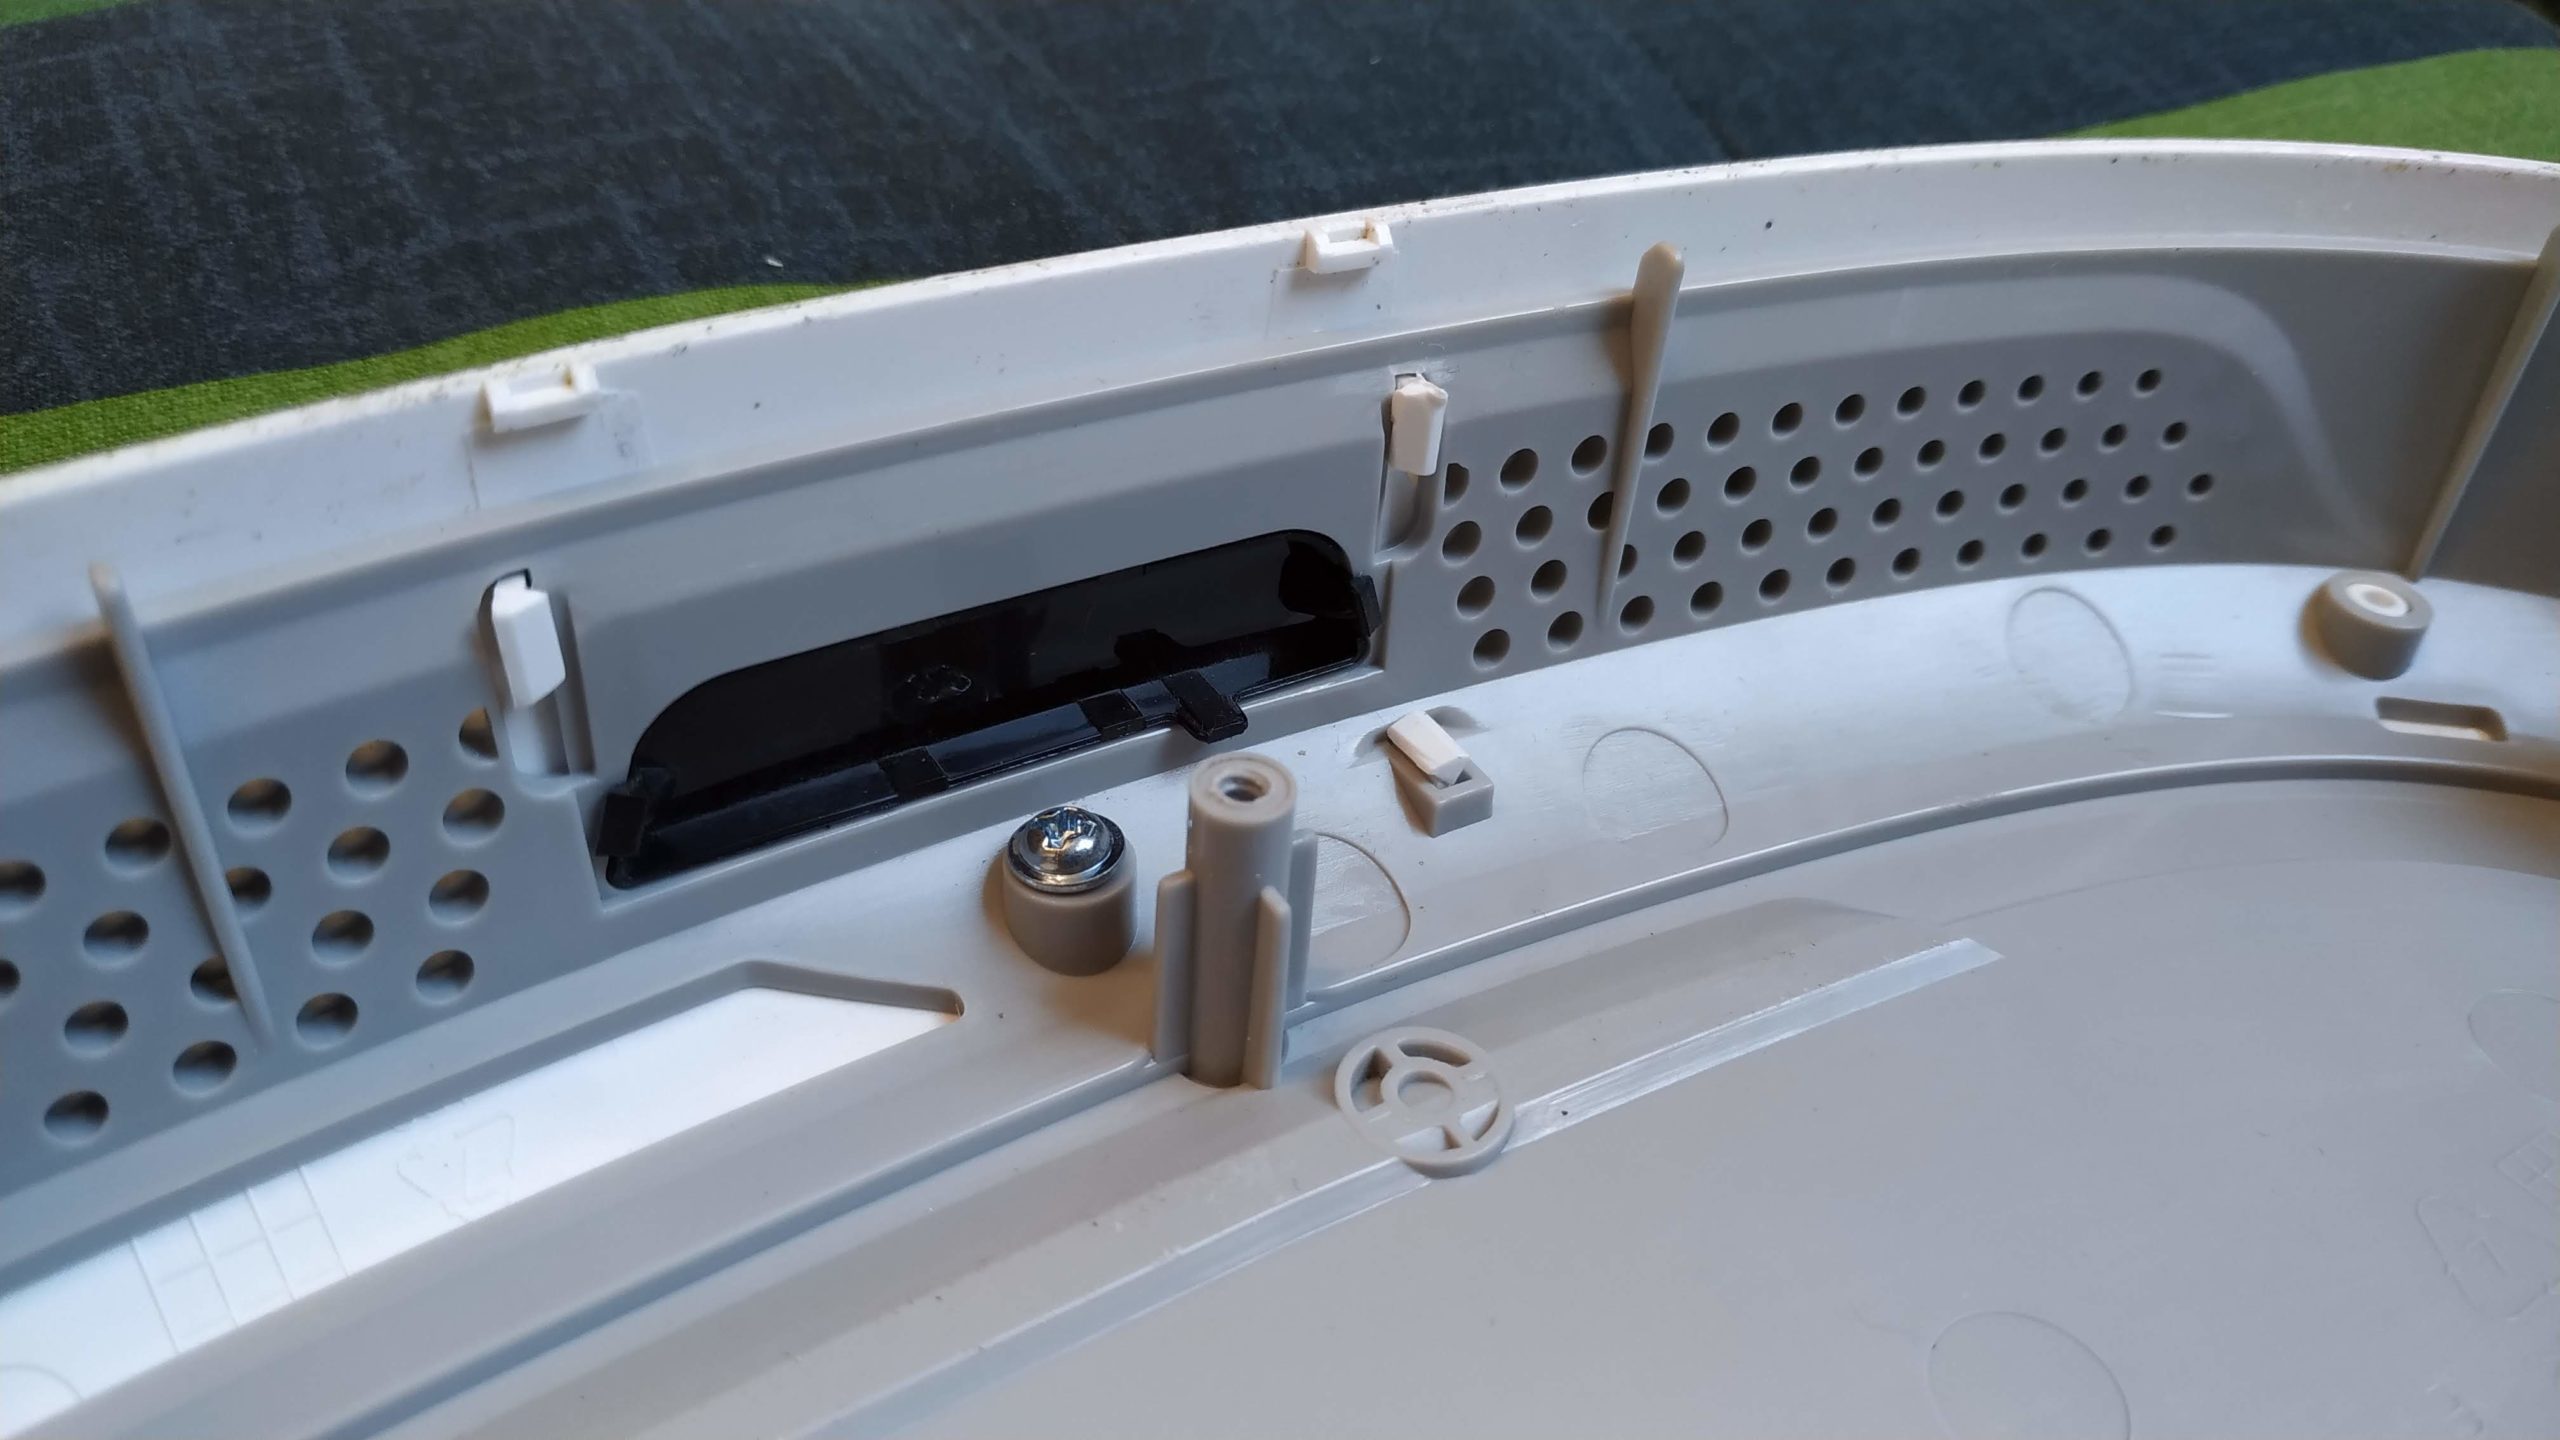
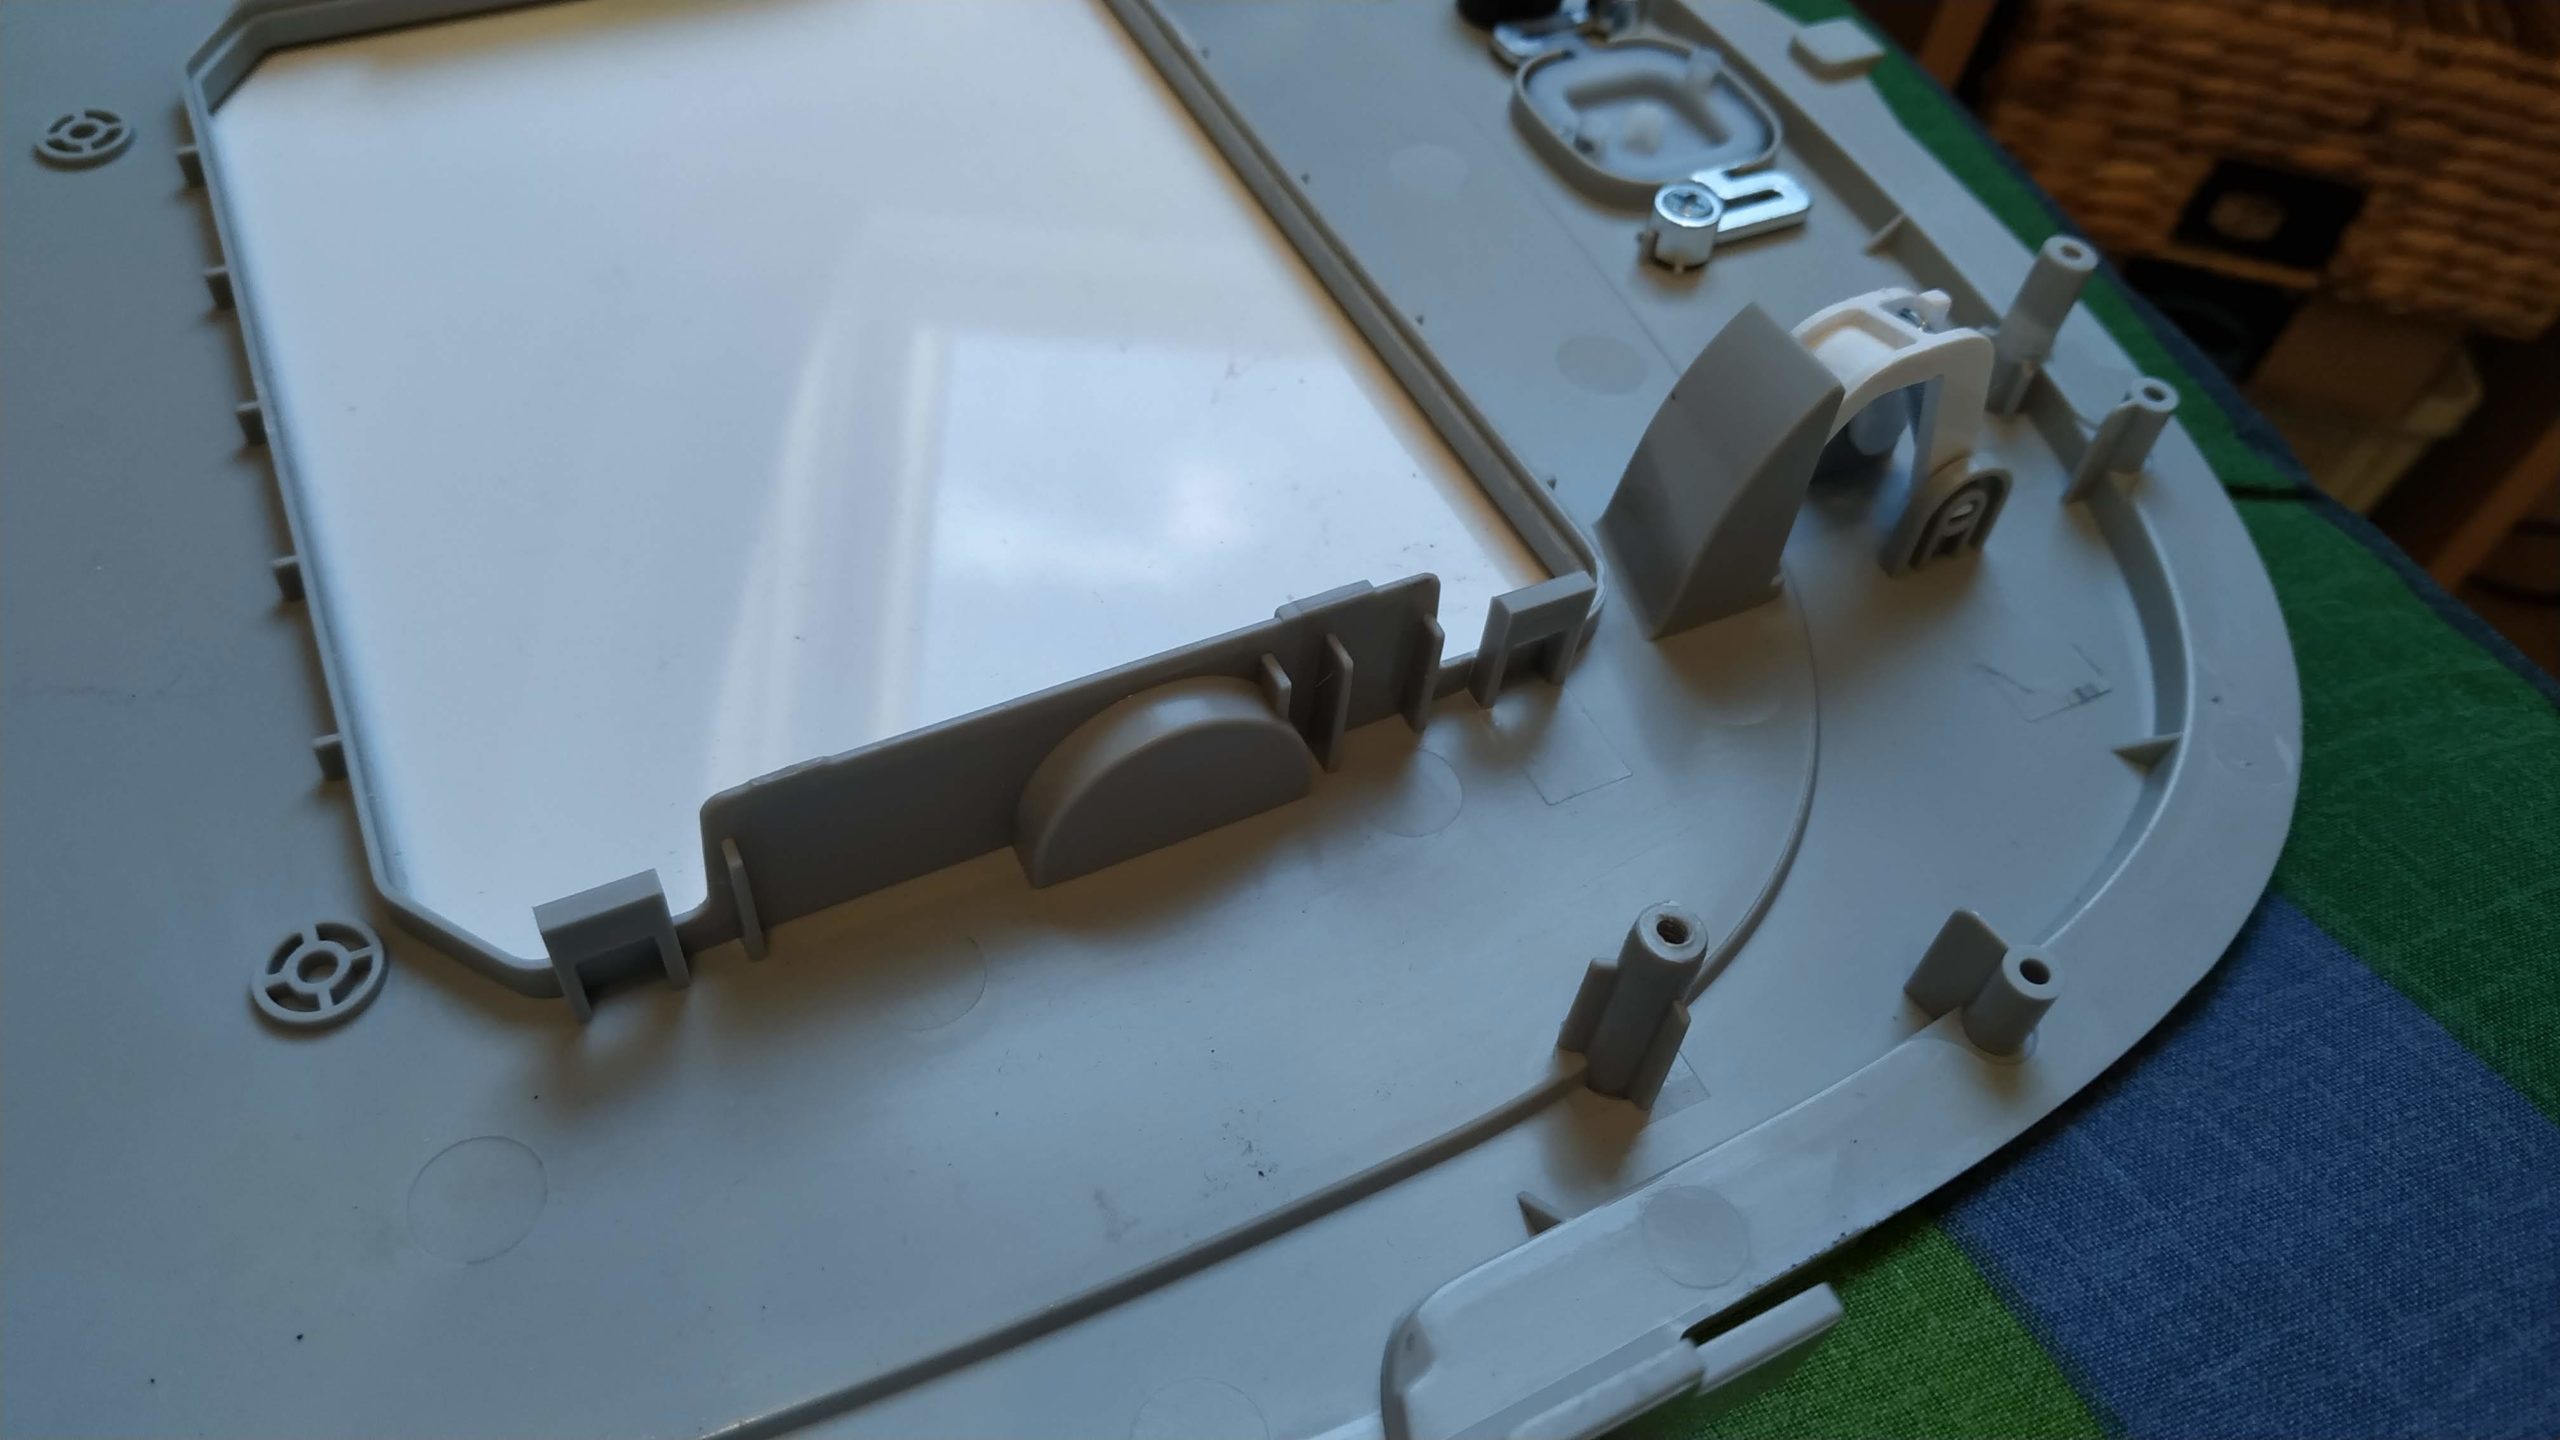
The next part is the most difficult. The top cover has little hooks in addition to the screws. Use a flat hat screw driver, a spatula or a similar tool to unhook the 4 points around the case. In addition, 4 hooks are on the inner deposit, where the dust bin usually sits. Try carefully to unclip them as well. If you cant’t access them properly, they will unclip by just pulling on the top cover, but the risk of breaking some of them increases (not that they are important or anything).
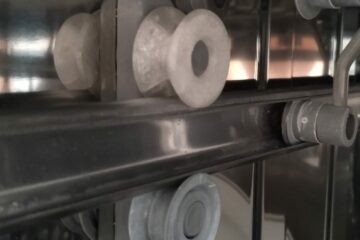
Now, locate the black wheels with fins on them and try to pull them of the shaft. It should be very easy (too easy, actually).
I used Uhu HART to glue the wheels back on, but any other glue (the original design worked just by friction ) should be alright.
Testing and final words
To test the result, move the battery connector to the top of the device and connect the battery. You can’t use any automatic modes, but you cant control the robot manually via the app. After all that, the robot should go straight now.
All that is left to do is to reassemble everything and you’re done.
This type of error probably occurs on other Ecovacs products. If you encounter this issue, please write a comment below.
0 Comments