First off: This process requires you to open your device. This will void your warranty! Please act on your own risk, as i can not give you a 100% guarantee of success.
With that out of the way, lets start with the prerequisites:
you will need the following hardware
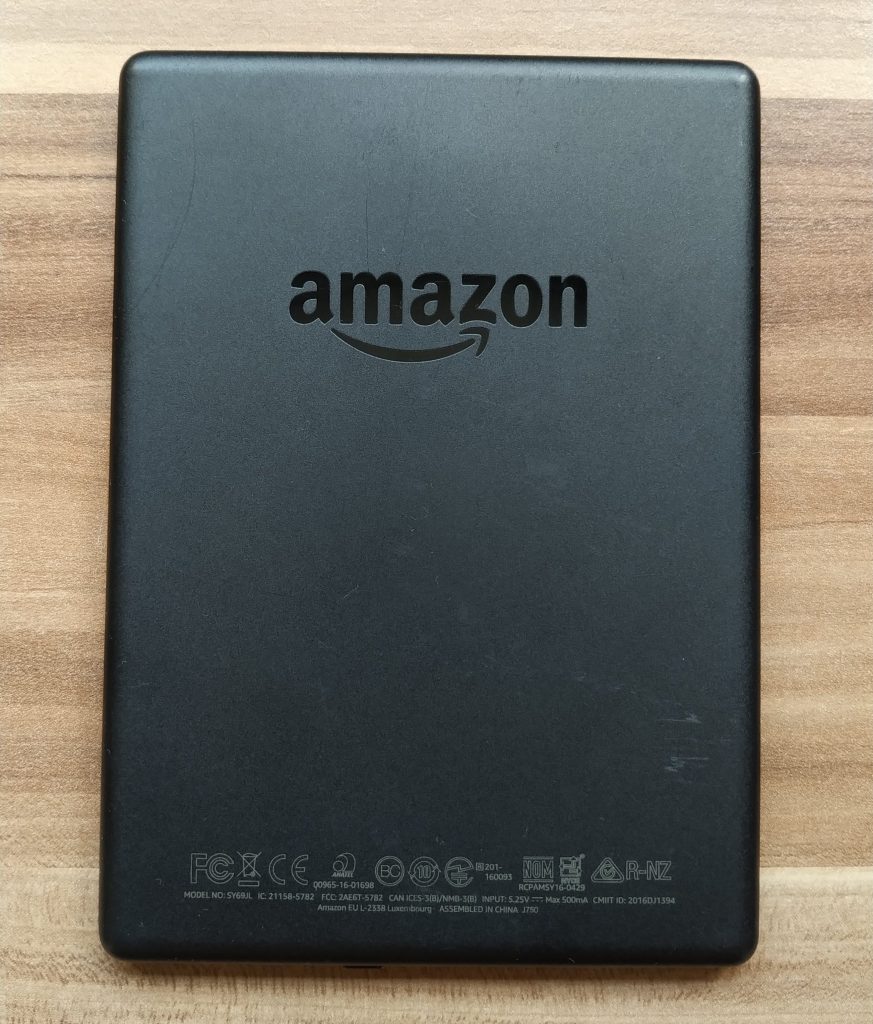
- Kindle 8th gen (Model Number: SY69JL)
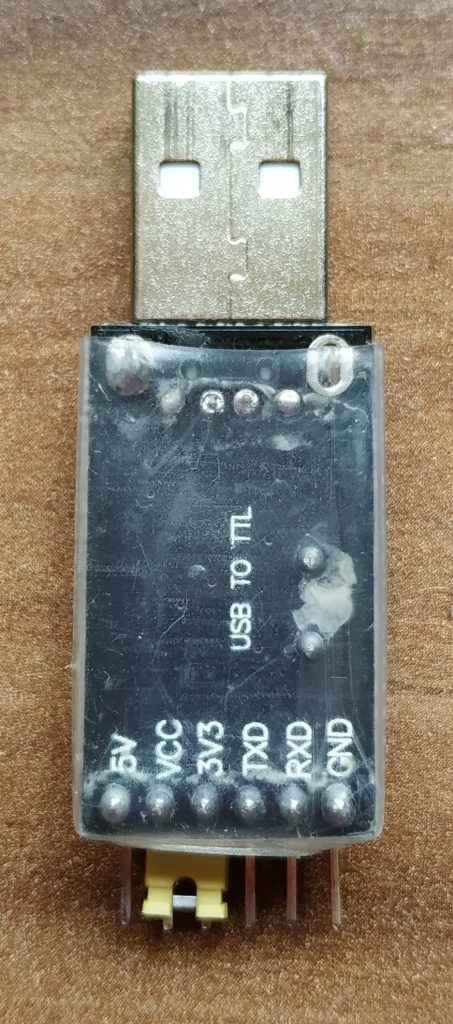
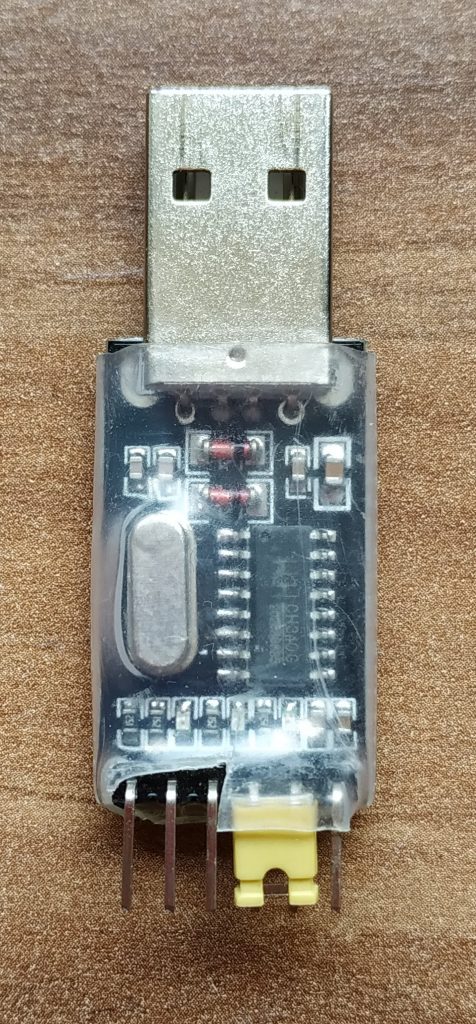
- USB-to-Serial Converter (1.8V)
- Screwdriver (Torx T-5)
- Set of plastic repair tool (or strong fingernails)
- Soldering iron/Solder

At the software side, you will need the following:
- Serial monitor (screen, putty, minicom, etc)
- ADB
My device is running on Version 5.12.1, but this method could work on other versions too.
Open the device
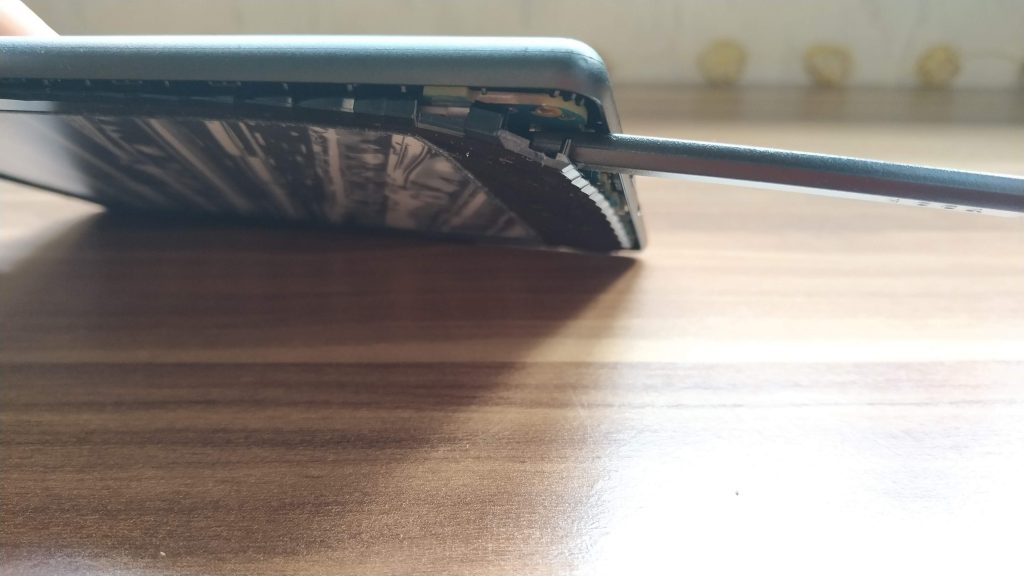
The first step is to remove the upper cover. It is clipped in place right around the whole device. Start at one of the bottom corners and try carefully to unclip the bottom edge.
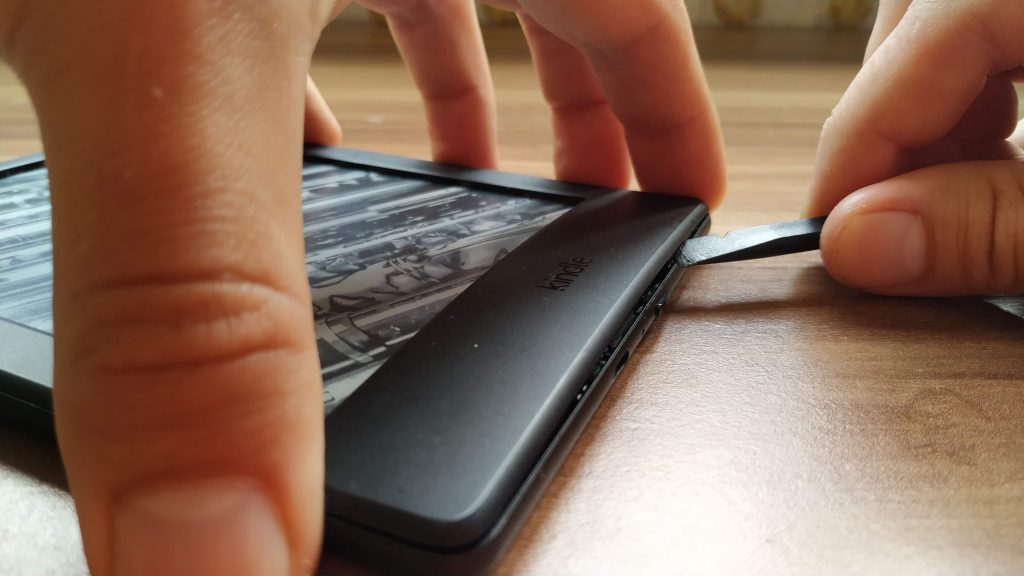
In addition to clips on the side, glue is used around the screen, so pry carefully through that as well.
After removing the front cover, you see another oddly shaped plastic part, hiding the screws you need to loosen. This one is tightly glued to the main screen and is a crucial part for the optical touchscreen. Start at the bottom again, and lift the plastic slowly. Try not to bend it to hard.
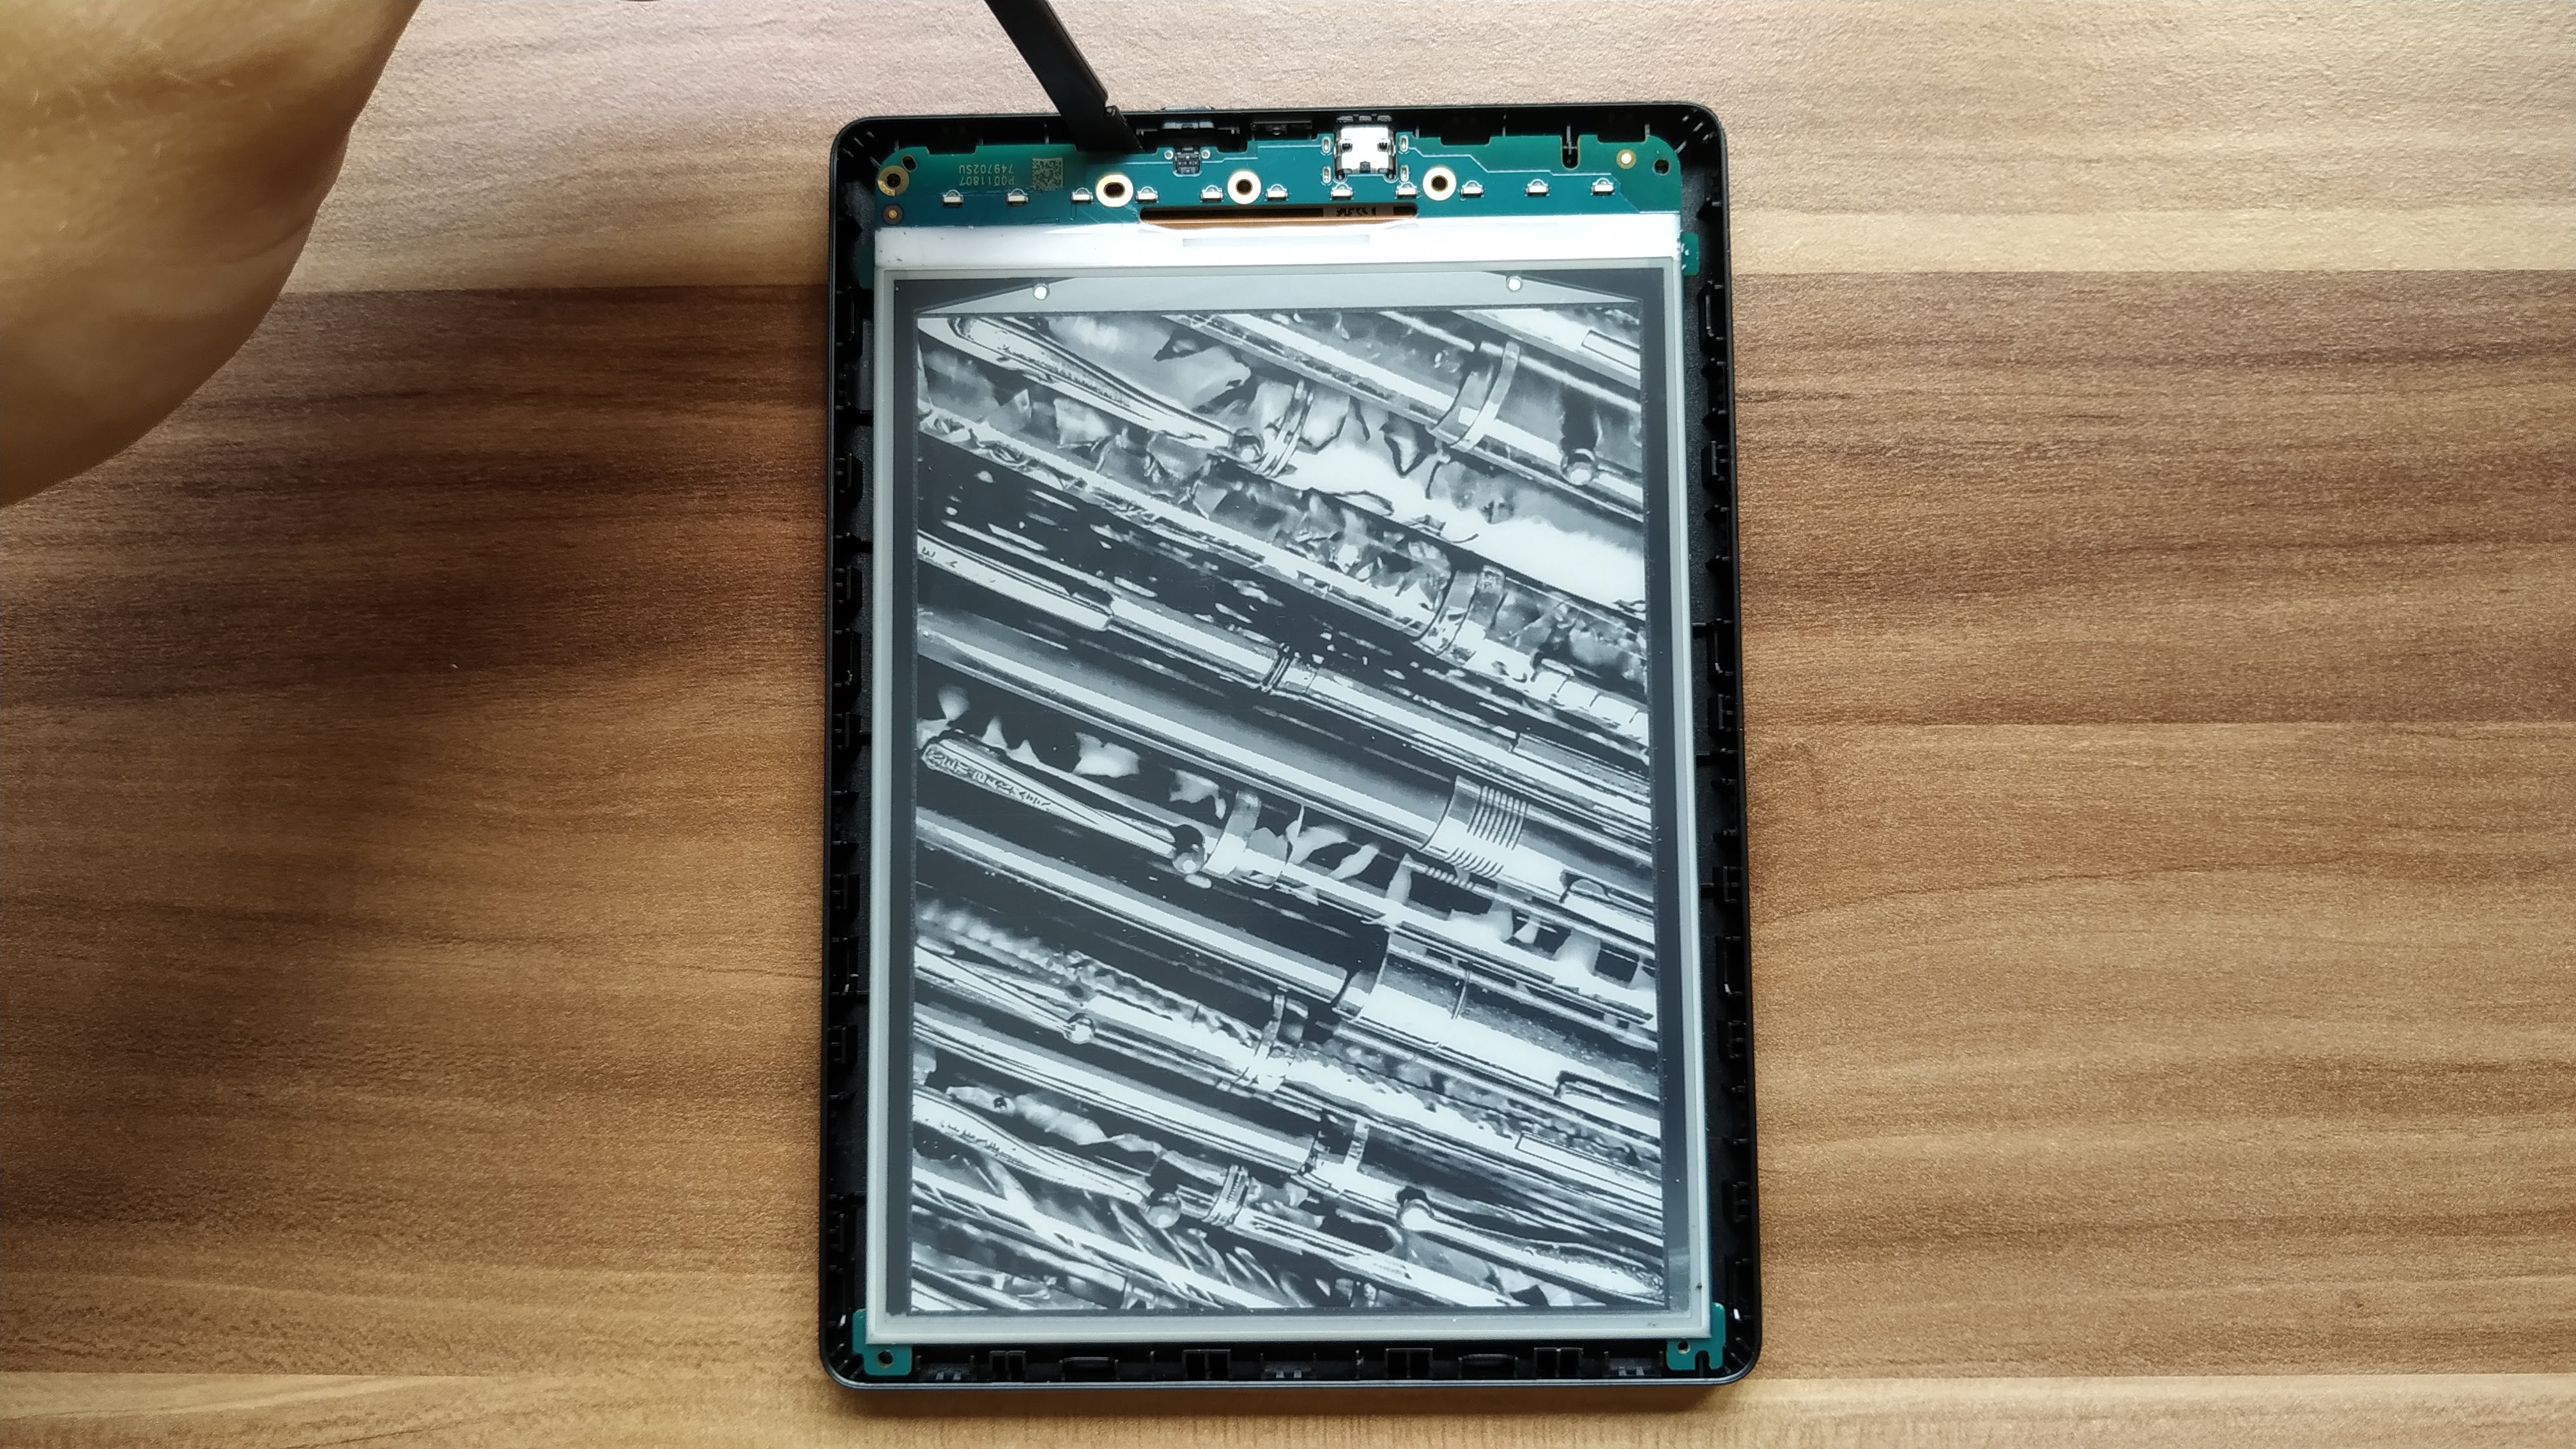
Now loosen all 7 visible screws
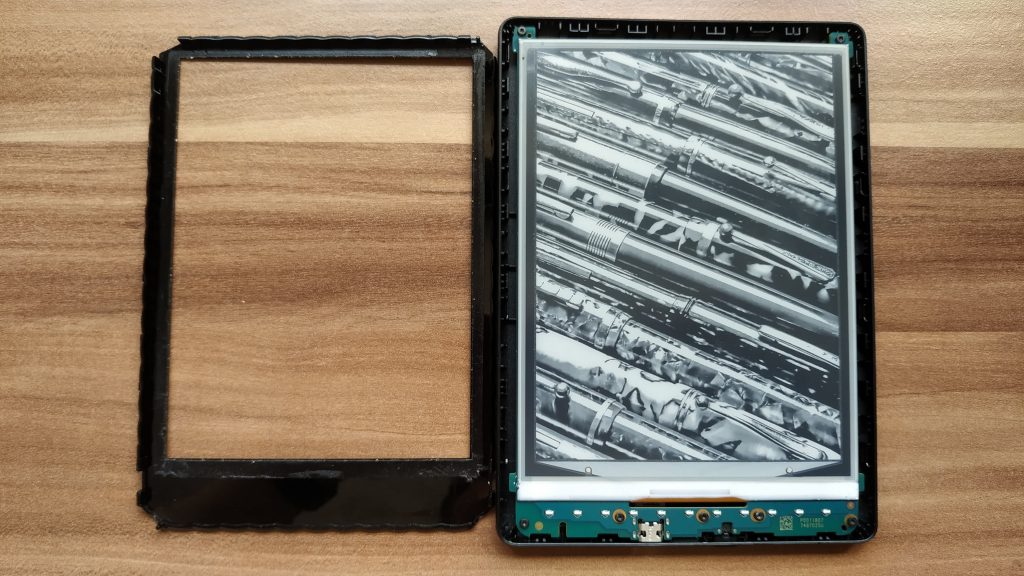
The last part is to remove the main unit from the back panel. This can be a bit tricky, as little anchors hold it in place. You need to shift the main unit upward to release those. It can help to bend the back cover at the top slightly, to push the unit out of it.
Now you can reattach the plastic bezel part used for the touchscreen, as we need to use it later on.
The soldering part
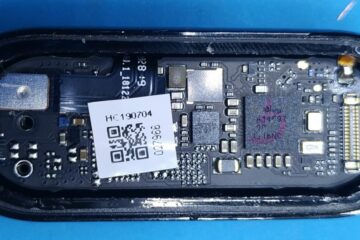
Congratulations! Your device is now open. In order to get access to your device, three wires have to be soldered to this unused header on the board.

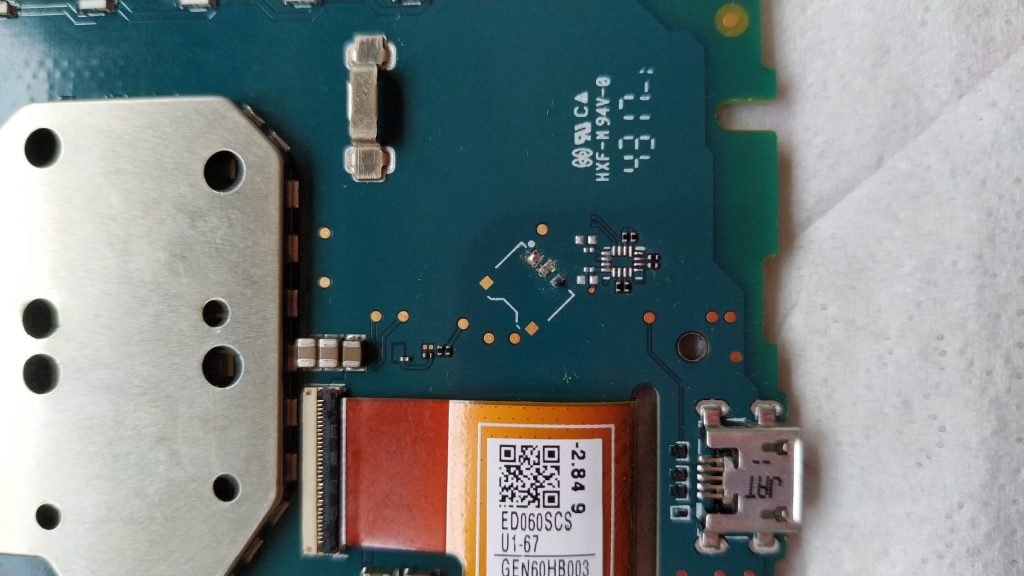
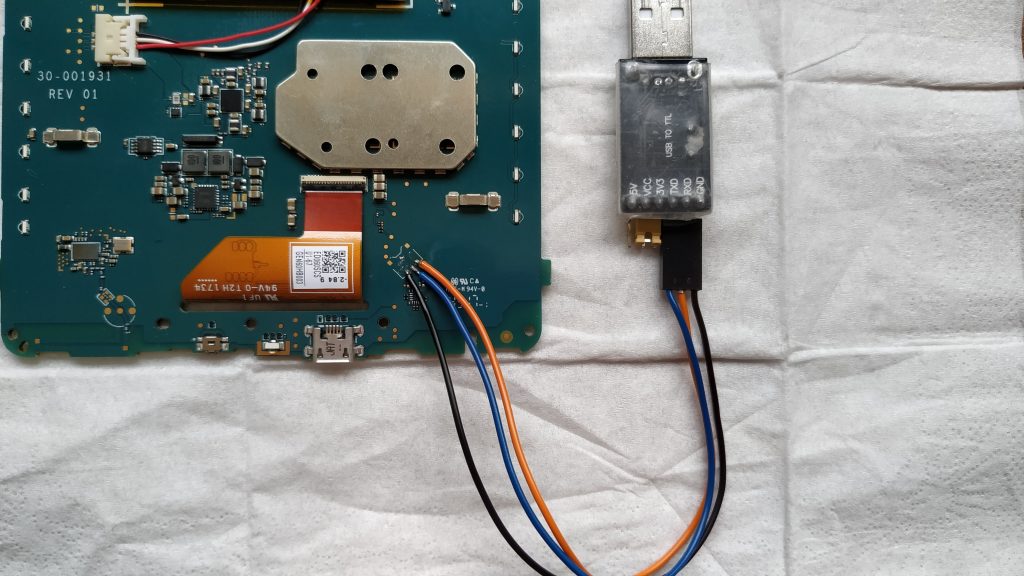
There are plenty of tutorials on how to solder, please forgive me if I’m not going into detail here.
Establish a connection
Now it’s time to connect it all up. I used an FTDI clone, based on the CH340 chip. The lowest voltage level supported, is 3.3V which is too much for the 1.8V logic used in the kindle. Don’t use this one as it can damage your device… Or do it anyway like I did 🙂

When all connections are made, be sure your kindle is on, connect the USB-to-Serial Converter to a PC and start the serial monitor. I’m using “screen” here, but feel free to use whatever you prefere.
Make sure to use 115200 as the Baudrate.
If everything works, you should be able to type and see what you just typed on the screen, if this doesn’t work, look at the troublesooting section at the end of this article.
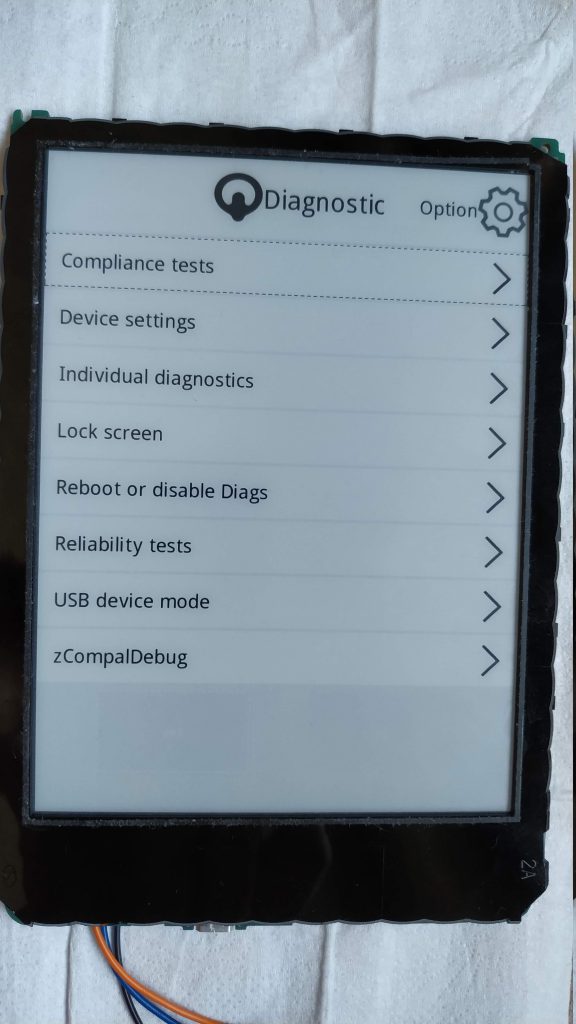
Start the root process: Enter Diagnostics root shell
The next step is to cancel the boot process. With the serial monitor active, reboot the kindle. There should be a lot of output in your terminal. If you see a countdown starting, press any key. Now you should see the following:
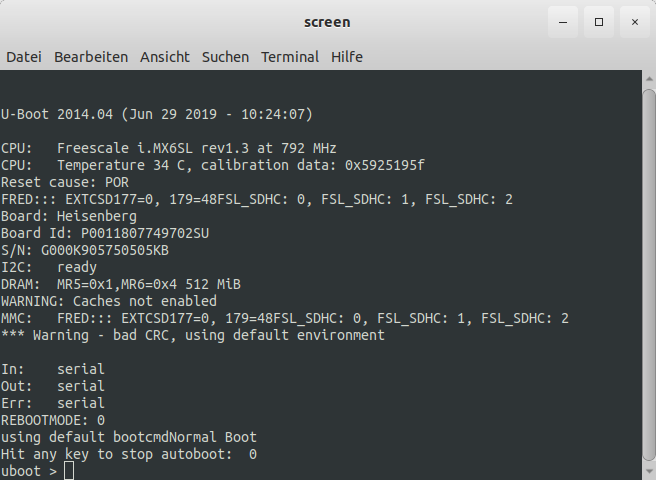
Our goal for now is to enter the kindles diagnostic mode. For that, enter the following and press enter:
run diags_bootYour kindle should now boot into diagnostics.
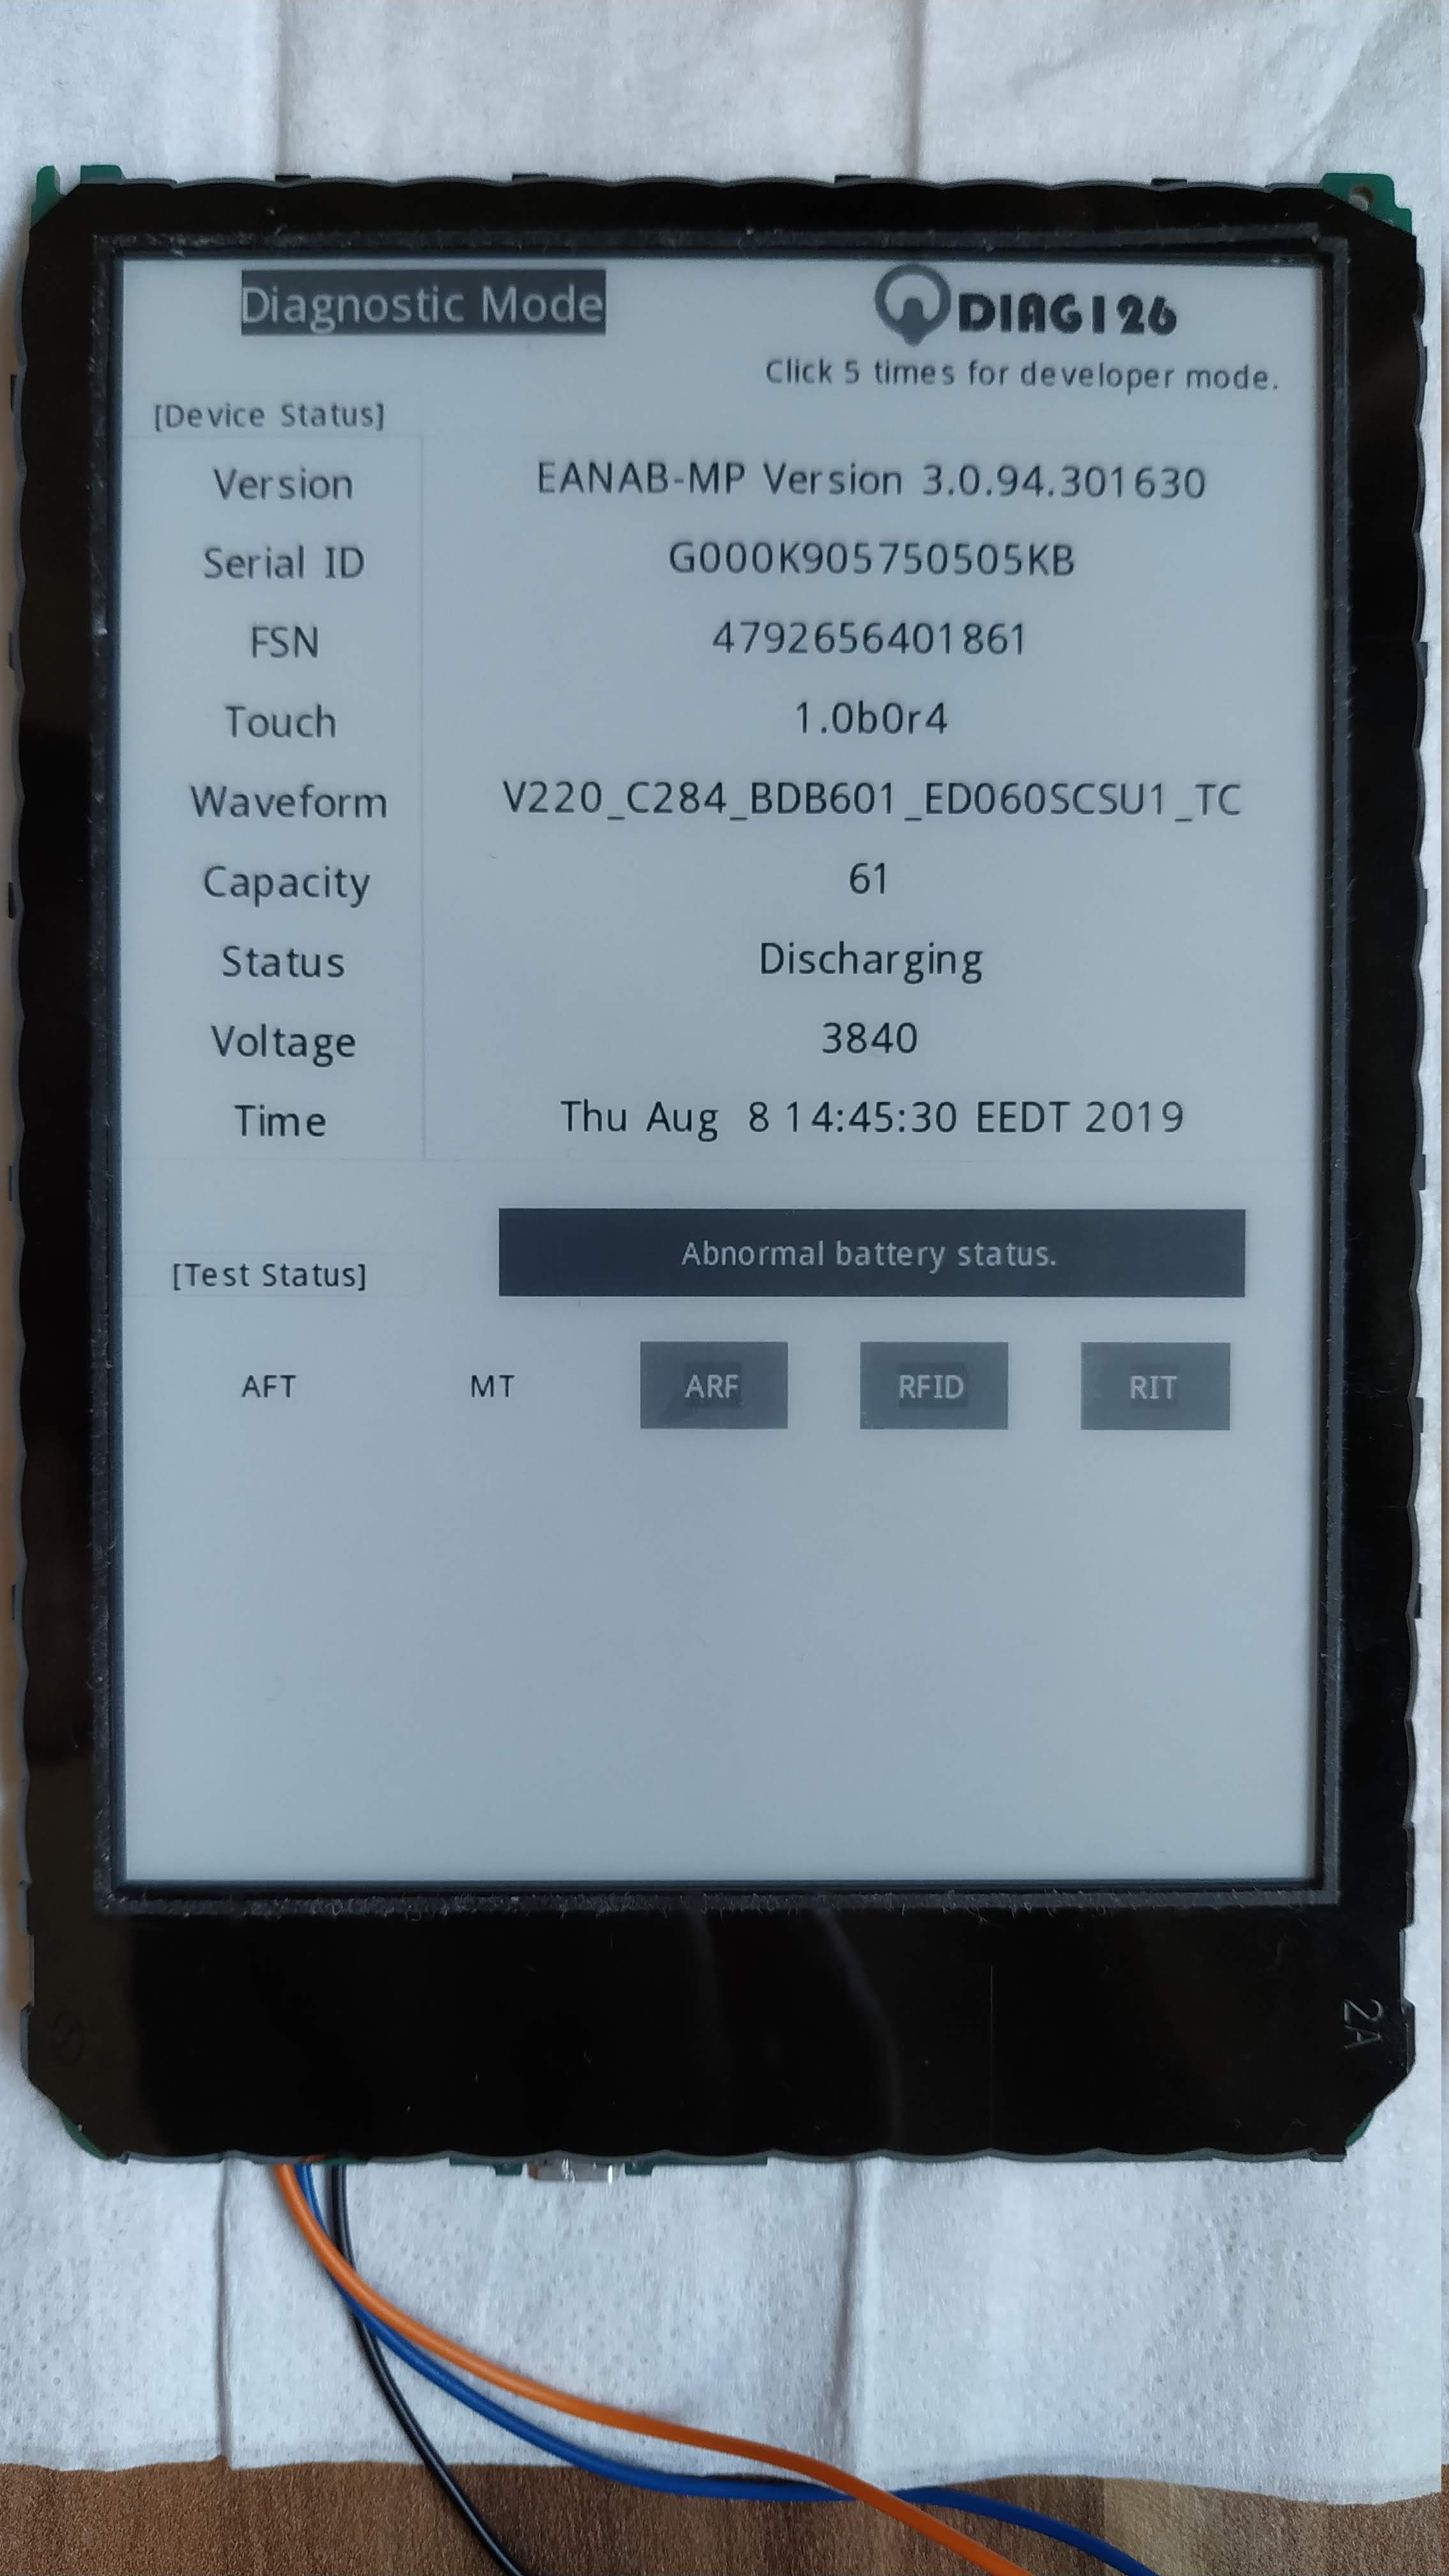
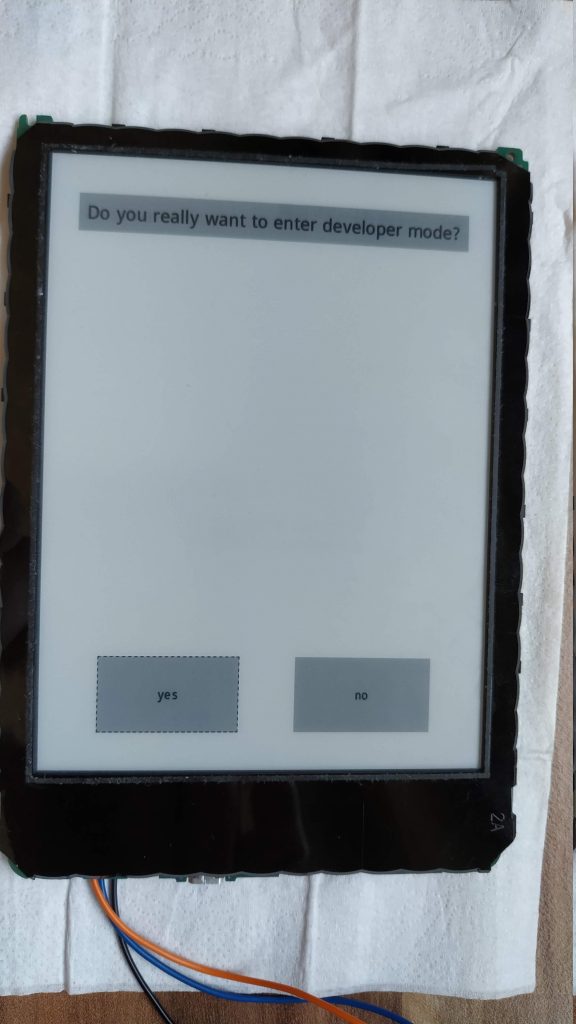
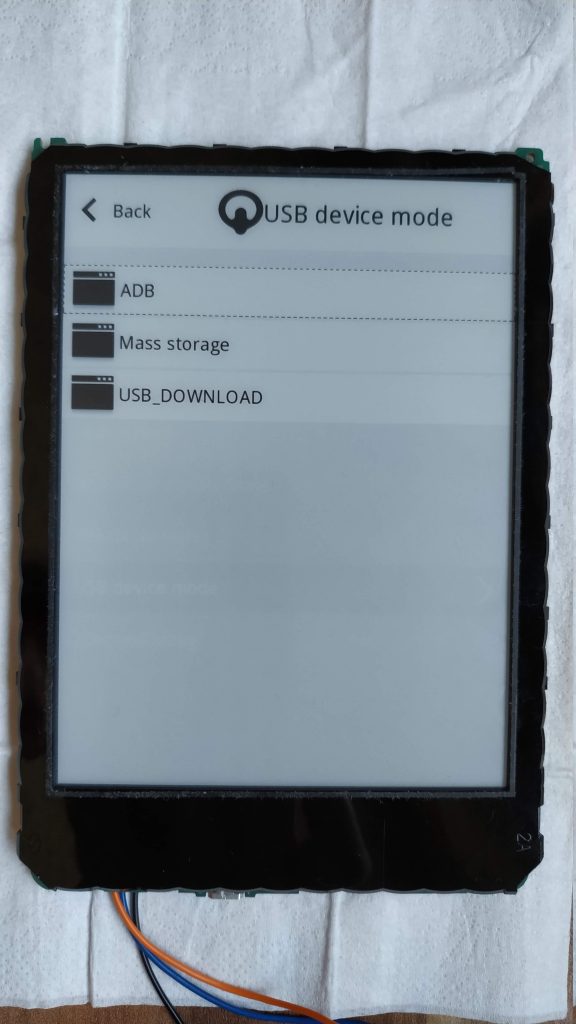
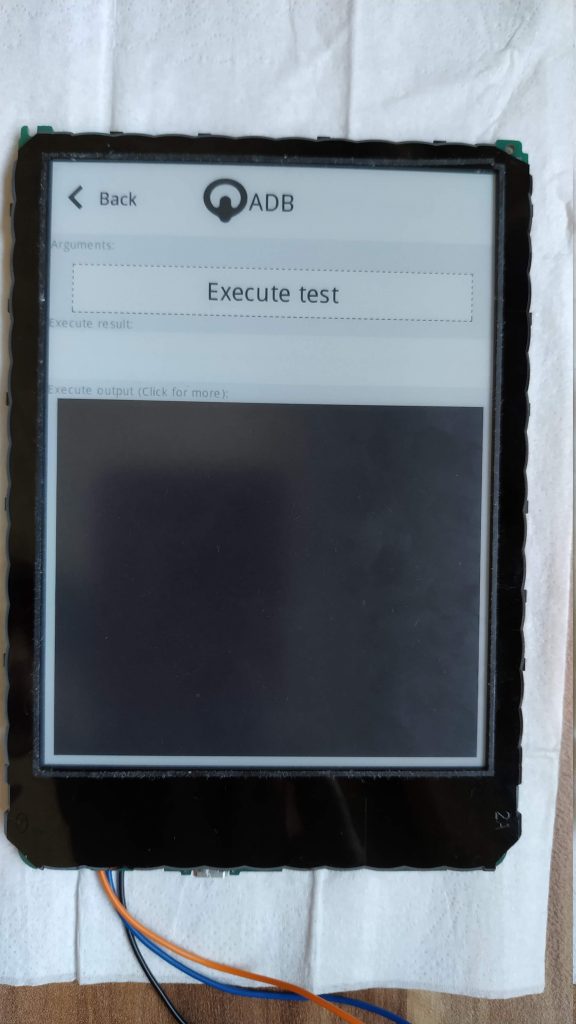
Tap 5 times on the upper right corner to activate the developer mode and confirm the next screen by pressing yes. From here, click on “USB Device Mode” -> “ADB” -> “Execute Test”

In the next step, we connect to the devices root shell via adb. Connect the device with via USB to your PC and open a terminal window (or CMD on Windows). Navigate to your adb installation directory and enter the following:
adb devicesIf everything works, you should see one device listed. Now you should be able to enter the root shell of the diagnostics by typing
adb shell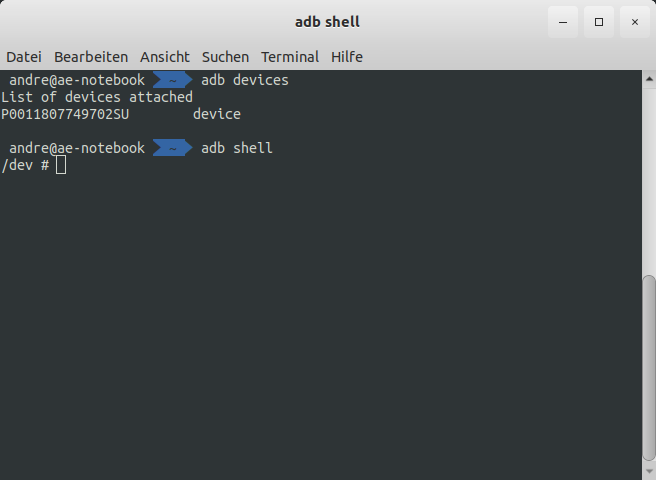
Unlock the main system
Great! We now have root access to one of the kindles subsystems, the diagnostics. This is not enough though. We need to unlock the main system. For that, we need to mount the main systems file system into a directory of the diagnostics subsystem. To do that, enter the following:
cd tmp
mkdir main
mount /dev/mmcblk0p1 /tmp/main
vi /tmp/main/etc/passwd
The last command launches a text editor called vi. The file we are editing can be modified to disable the password prompt for the root user in the main system.
Navigate with the arrow keys to the line beginning with root and move the cursor over the “x” charakter after the “:”


Press x on your kexboard to delete this charakter and than press :w and enter to save the changes.
To exit the diagnostics and return to the main system, type
rebootEnter the main system
Your device should now restart. Wait until the reboot process is done. You should be prompted to a login screen. If not, just ignore the previous output and enter
root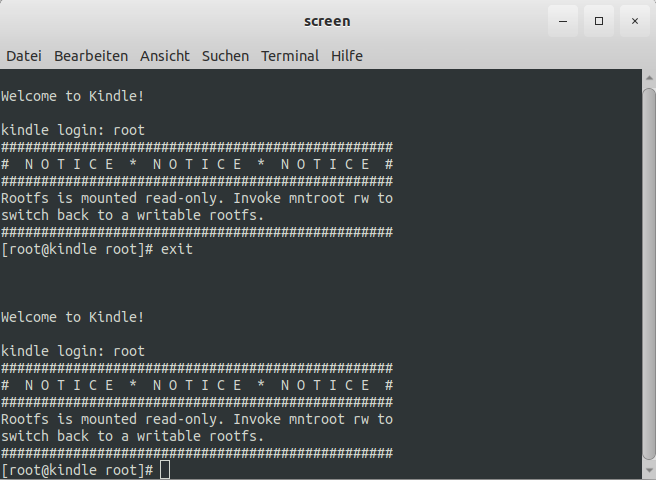
Thats it, you are now logged in as root user into the main system
What now?
From here, you can do pretty much anything, but the first thing I did, was to disable any kind of ads.

0 Comments